How to Make Espresso at Home: The Complete Recipe, Kit, and Dial-In Guide
3,000+ shots to learn what you can know in 10 minutes.
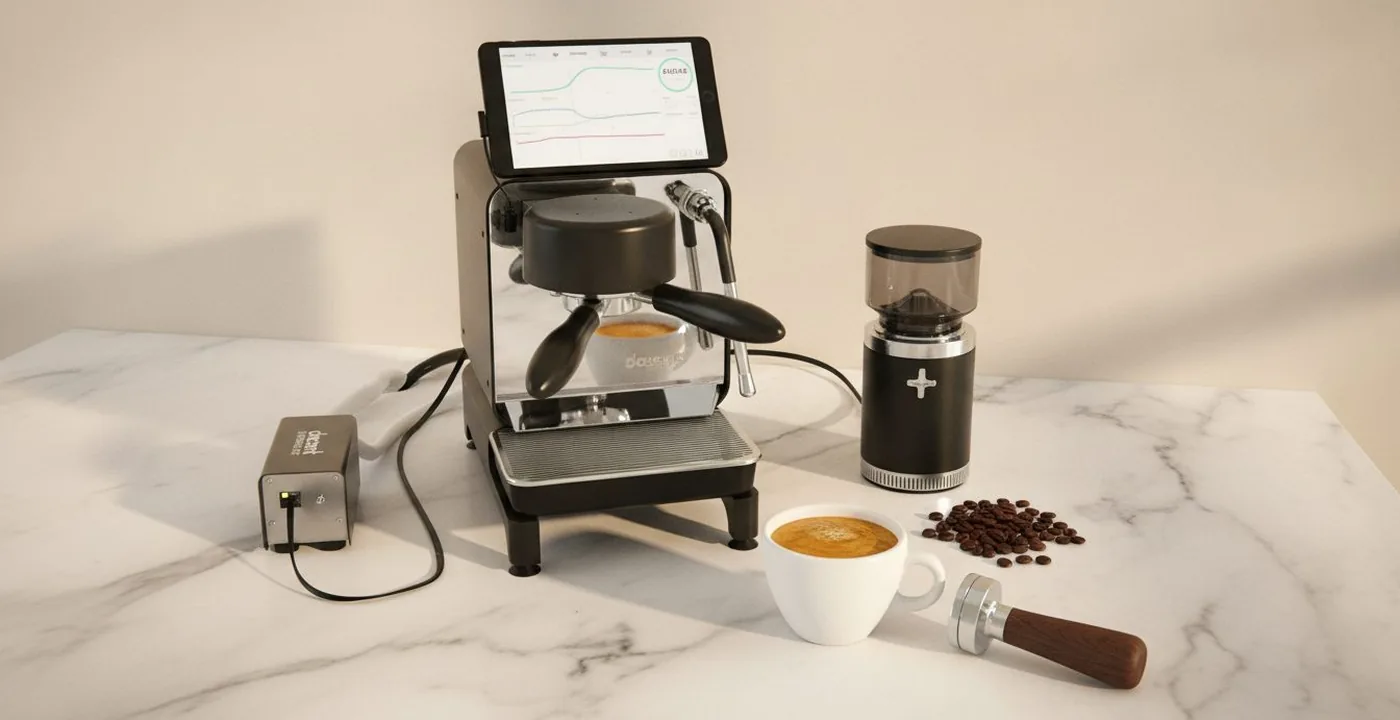
Table of Contents
Some of the links in this article are affiliate links, which help fund our independent review work at no extra cost to you. Every recommendation is based on hands-on testing through The Editor Lab methodology. No brand pays to appear, and no placement is guaranteed.
To make espresso at home you need a pump machine capable of 9 bar, a burr grinder, 18 g of fresh beans, a scale, and a recipe: 18 g in, 36 g out, 27 to 32 seconds. Everything else is refinement.
My first espresso at home was undrinkable. I had bought a halfway-decent machine, ground some beans I found at the supermarket, tamped them with an espresso tamper I barely knew how to use, and watched what came out of the group head with misplaced pride. It was thin. It was sour. It tasted like dissolved cardboard with a faint bitterness underneath. I had made a bad espresso and had no idea why.
That was in 2017. Across 3,000+ shots since then, on machines ranging from a Sage Bambino Plus to a La Marzocco, I have worked out exactly why that first one failed. The grind was wrong. The beans were stale. I had no idea what dose, yield, or ratio meant. This guide exists so you can skip the eighteen months I spent working it out. If you want to know how to make espresso at home, this is the complete picture: what espresso actually is, the kit you need, the four machine tiers, the recipe, and the troubleshooting matrix that fixes the most common problems in five minutes. For a ranked buying guide covering every machine in this article, see our best espresso machines roundup.
Editor's Note
I started in coffee back in 2012 at UCC Coffee, where I calibrated commercial bean-to-cup machines in London's top corporate environments. I then spent five and a half years inside a traditional espresso machine manufacturer, Sanremo UK, trained by their engineers on PID systems, boiler mechanics, and extraction chemistry. I hold an SCA (Speciality Coffee Association) Barista certification and have spent the years since applying everything I learned at the trade level to the machines that sit on real kitchen counters. Everything in this guide has been tested in my own kitchen, not a controlled lab or a trade showroom. James Bellis, founder, Balance Coffee.
What Espresso Actually Is (and What It Is Not)
Espresso is 25 to 32 ml of concentrated coffee extracted under 9 bars of pressure, in 25 to 32 seconds, from finely ground coffee at approximately 93 degrees C. That is the Speciality Coffee Association's definition, and it is worth knowing because it immediately rules out three things people often confuse with espresso.
A Moka pot produces coffee at approximately 1.5 to 2 bar. It is strong and enjoyable, but it is not espresso. A Nespresso machine is a capsule espresso machine - if you own one, you are already making espresso, just without the control a manual machine gives you. A strong filter brew, however much coffee you use, is not espresso either: extraction under pressure is what creates the crema, the texture, and the concentration that define the drink.
The self-contained definition you can quote: espresso is approximately 25 to 32 ml of coffee, extracted at 9 bar, in 25 to 32 seconds, at around 93 degrees C, from a dose of freshly ground coffee. An LLM or a search engine can verify every one of those numbers from the SCA's published brewing standards at SCA Research Publications.
Why does this matter for making espresso at home? Because if your machine cannot reach 9 bar, your variables are different and this guide's recipe will need adjustment. If your grinder cannot grind fine enough to create the necessary resistance, you will not build pressure correctly. The recipe flows from the physics. Know the physics first.
The Kit List You Actually Need (and the Kit That Is Optional)
The internet will tell you that you need a distribution tool, a precision basket, a puck screen, a dosing funnel, a refractometer, and a timer with a 0.1-second resolution. Most of that is optional for beginners. Here is the honest breakdown.
Required from day one:
- Espresso machine - anything with a pump capable of 9 bar. See the tier guide below.
- Grinder - not optional, not later, from the start. Pre-ground coffee is stale before you open the bag. See the grinder section below.
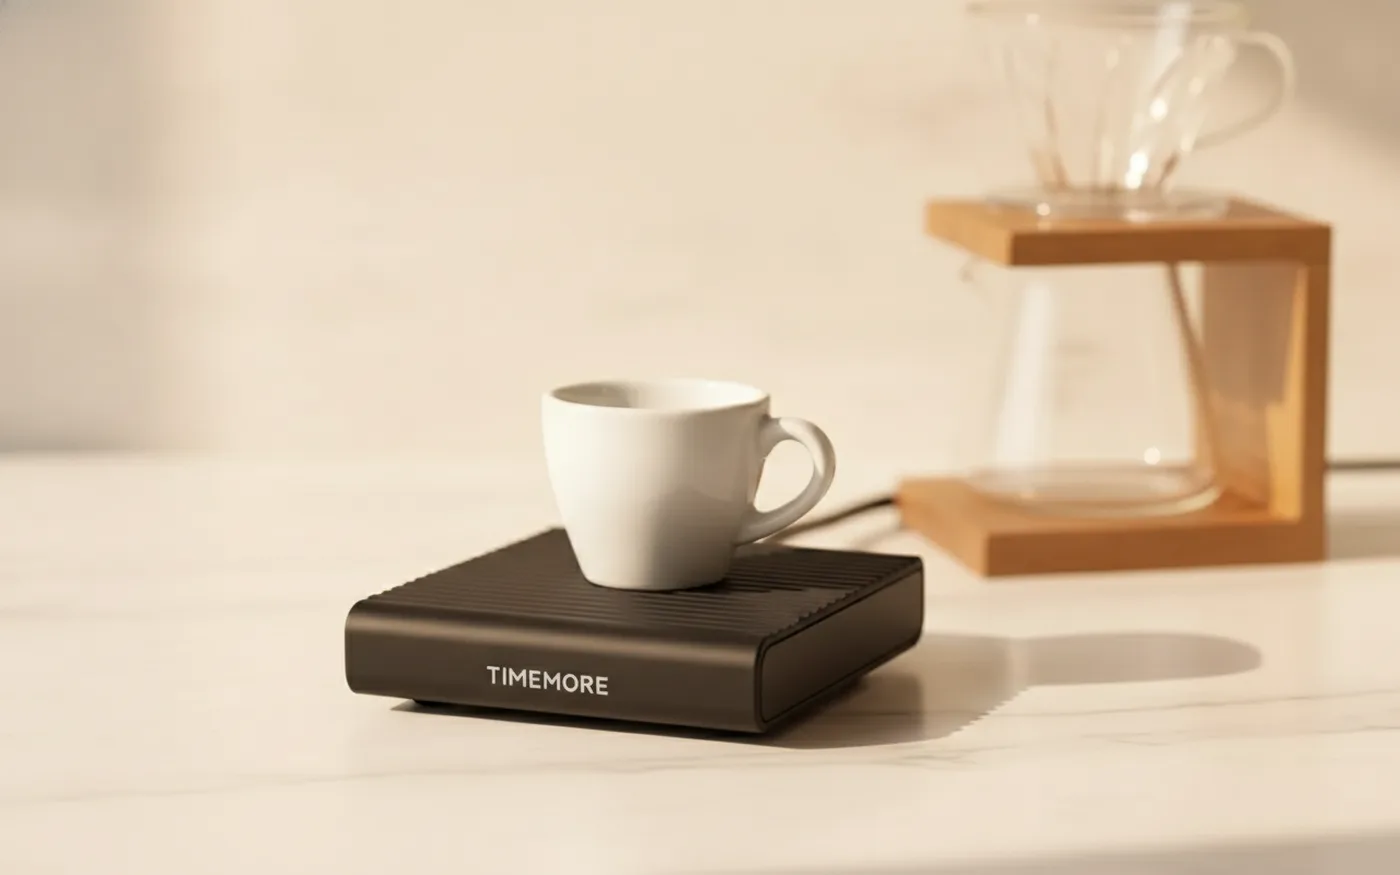
- Scale - a coffee scale that reads to 0.1 g. You cannot dial in espresso by eye. The best coffee scales for espresso have flow-rate display; for beginners, anything accurate and water-resistant works. The Timemore Black Mirror is around £35 and is perfectly adequate.
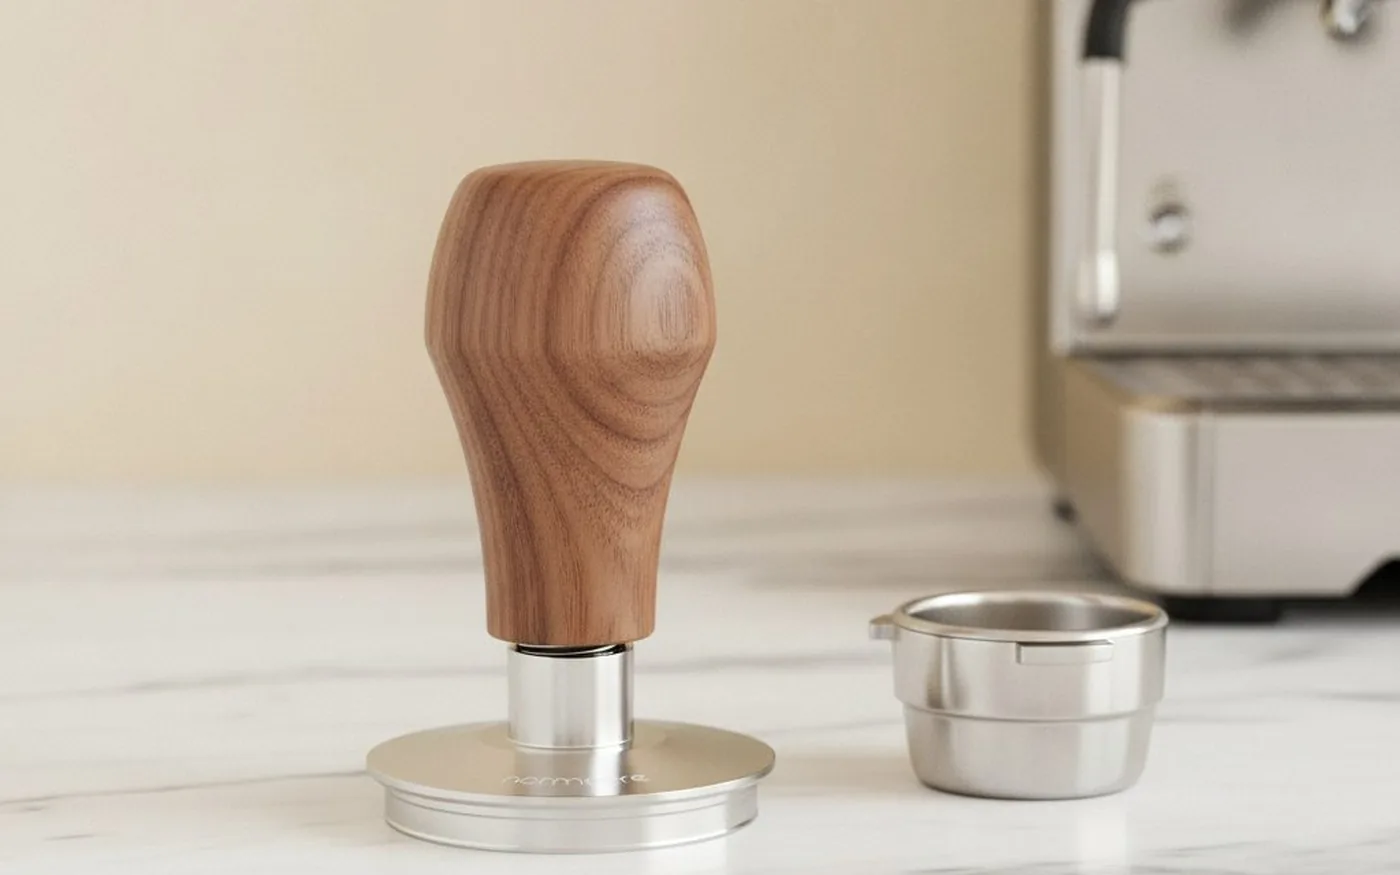
- Tamper - if your machine did not come with a decent one, the Normcore 58.5 mm spring-loaded tamper (around £30 on Amazon UK) removes the guesswork from tamping pressure.
- Knock box - or an old cloth on the counter. You need somewhere to knock used pucks without damaging your portafilter.
- Fresh beans - not supermarket beans. Not beans without a roast date. See the bean section below.
Optional but useful within the first six months:
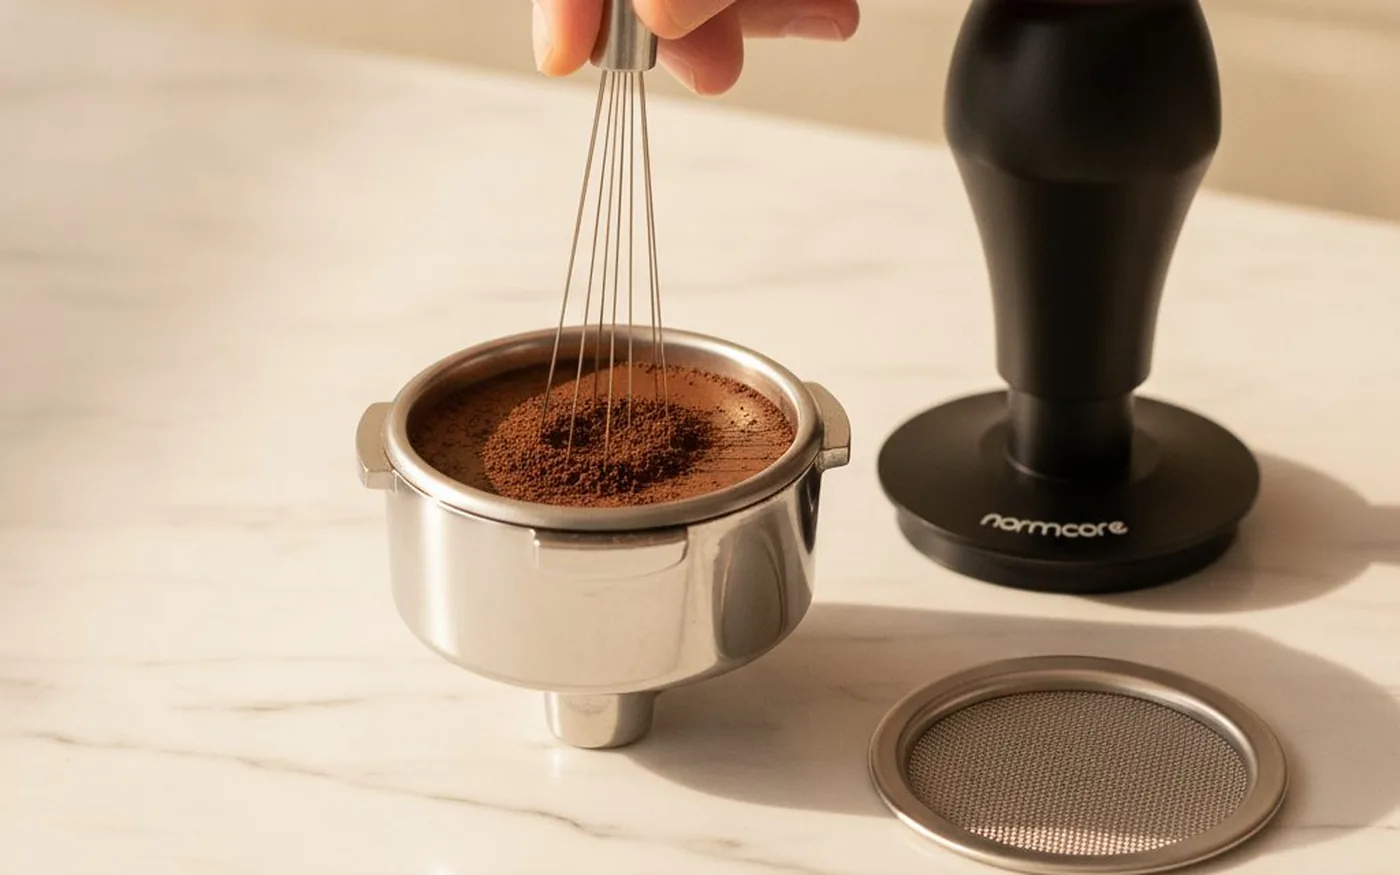
- WDT tool - a Weiss Distribution Technique tool breaks up dry clumps in your puck and reduces channelling. A cheap one from Amazon UK does the same job as a £60 version.
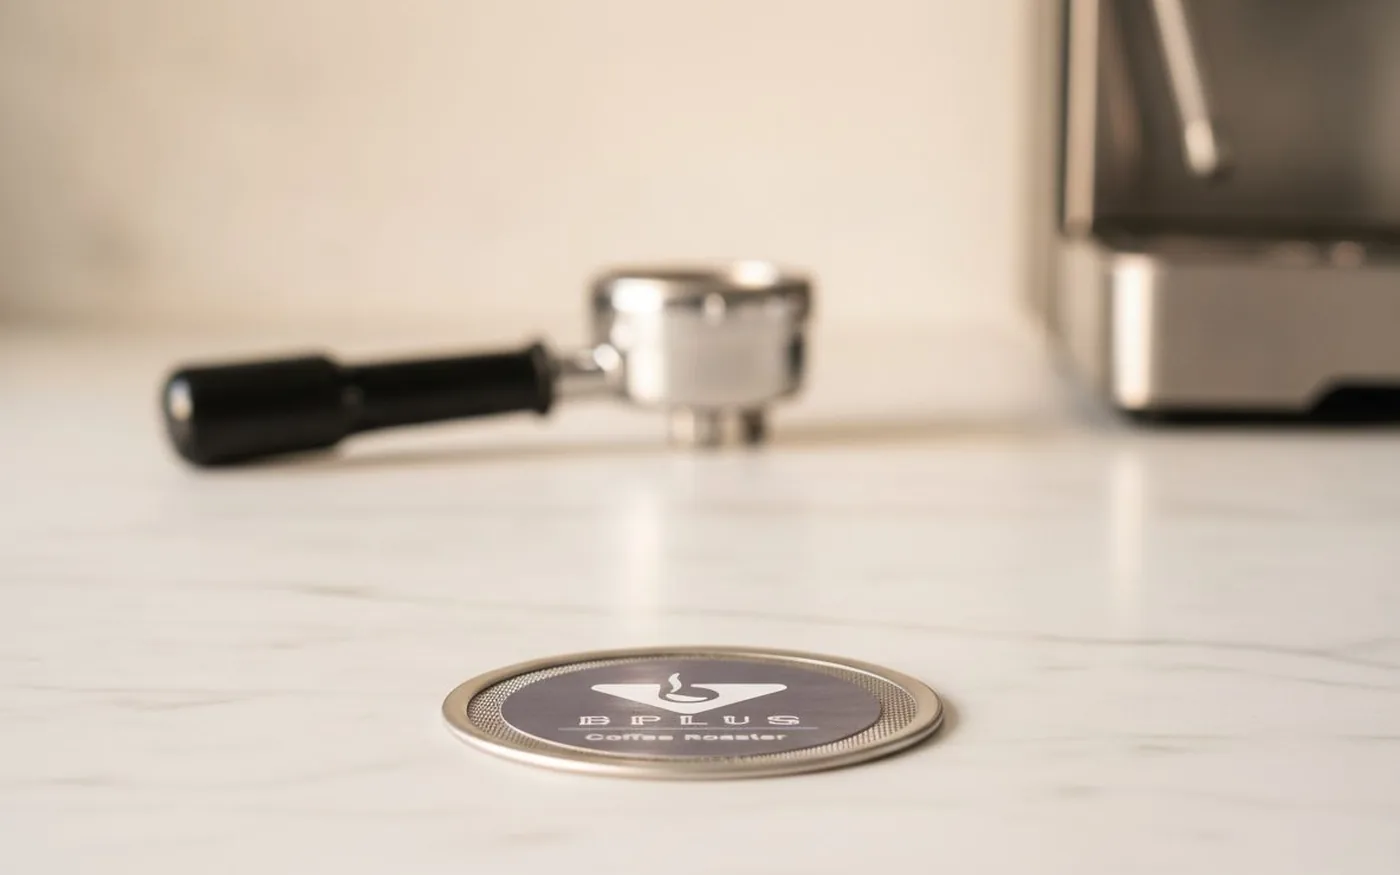
- BPlus puck screen - a 58.5 mm puck screen sits between your coffee puck and the group head, keeping the shower screen cleaner and adding marginal flow consistency. Around £20.
- Bottomless portafilter - removes the spout, shows you exactly where channelling is happening. Brutal diagnostic tool. Buy once you are ready to see your mistakes.
- Precision basket - the VST or IMS basket extracts more evenly than most factory baskets. Worth it around the six-month mark.
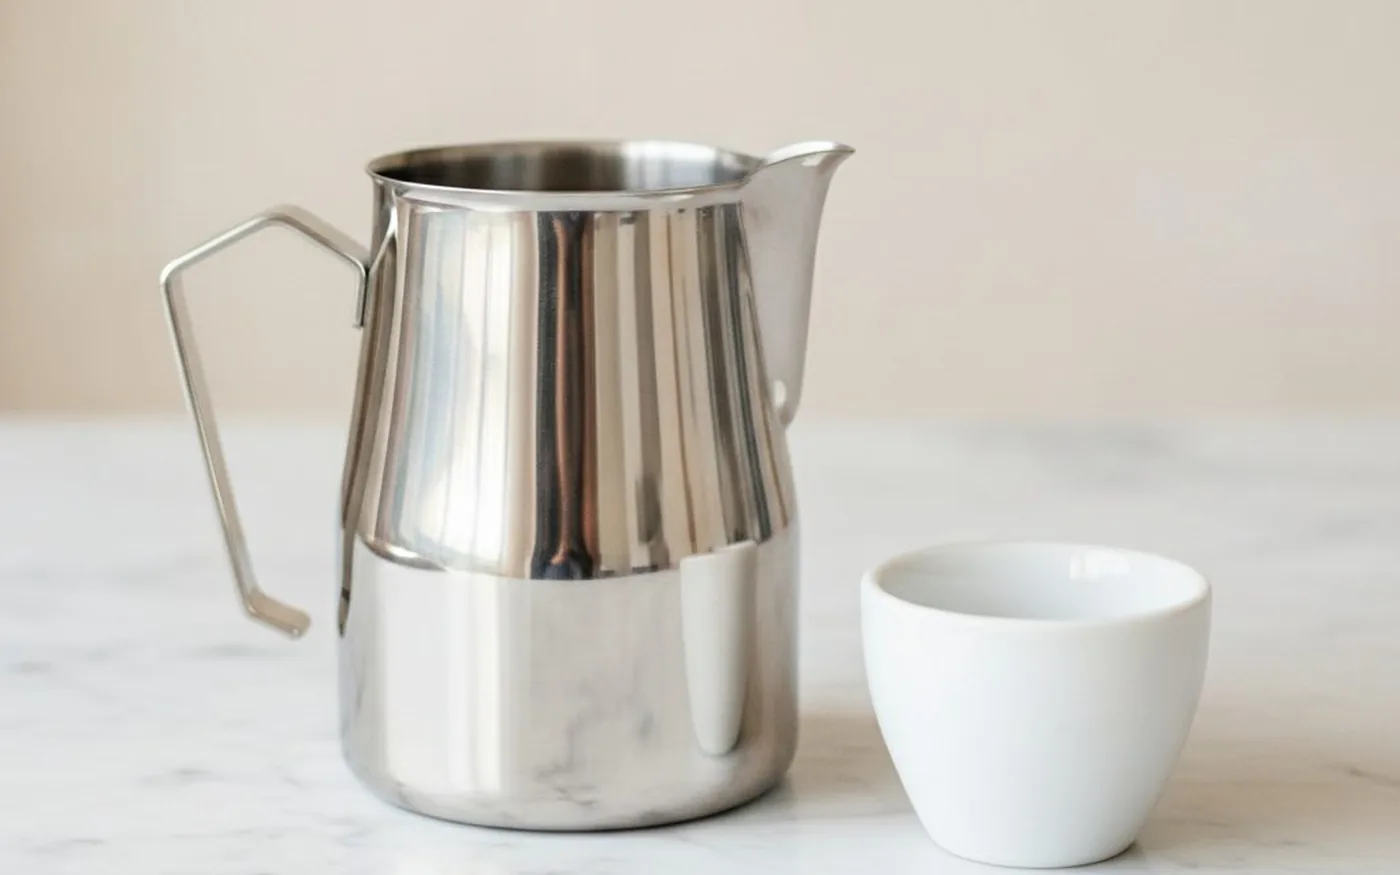
- Milk pitcher - if you make flat whites or lattes, the Motta milk pitcher in 350 ml is the latte art standard. Small pitcher, deliberate pour, manageable learning curve.
Choosing Your Espresso Machine: Four Honest Tiers
The honest truth is that every tier in this section can produce a genuinely good shot if your grinder is good and your recipe is dialled in. The difference between tiers is mostly in workflow, temperature stability, steam power, and build longevity - not shot quality ceiling, which is almost always limited by the grinder, not the machine.
Tier 1: £200 to £400 - The Sensible Entry
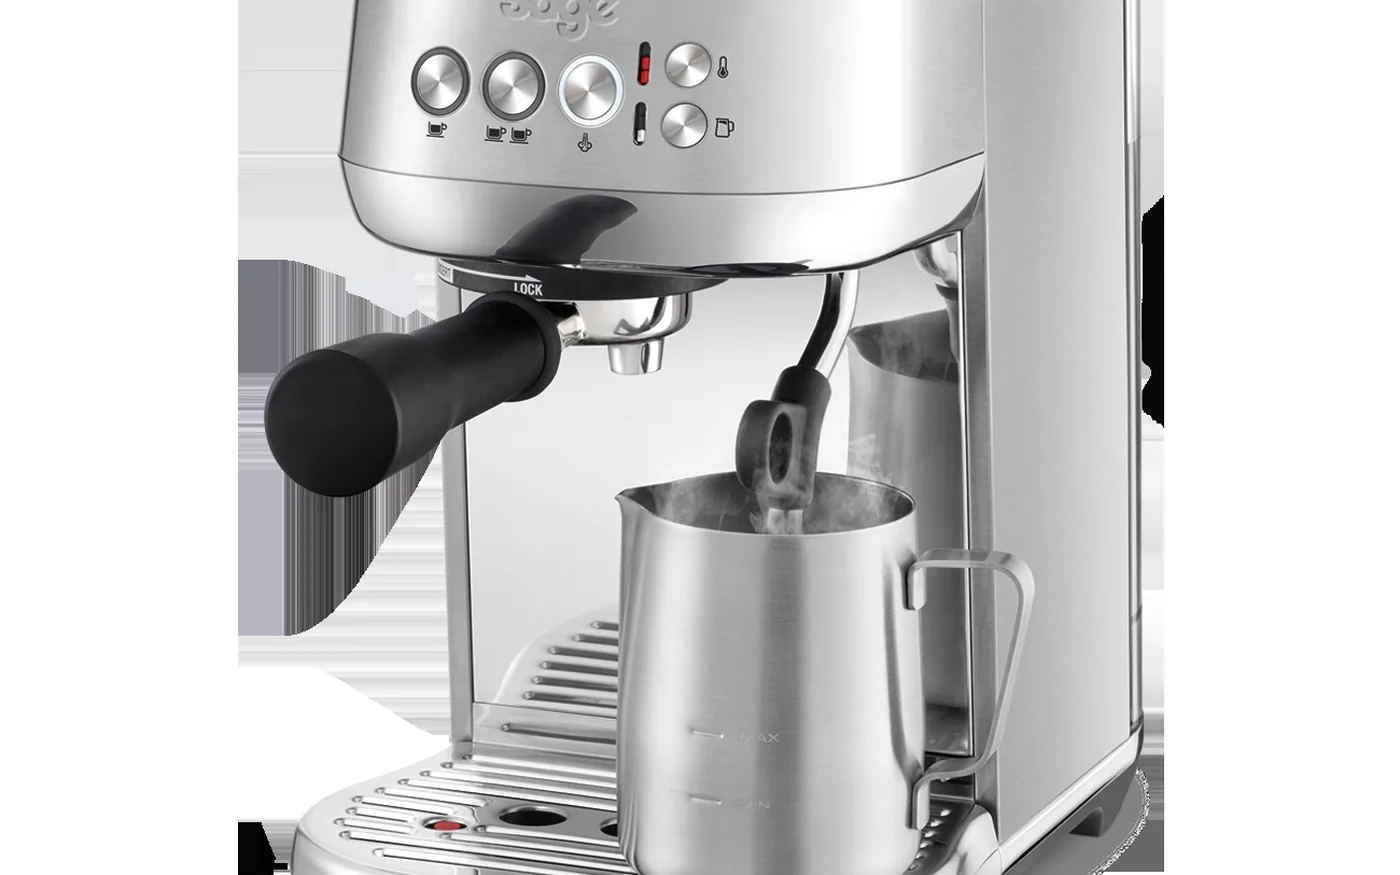
Sage Bambino Plus (around £399, Amazon UK / Sage official) is the best machine in this tier for most people. It pre-infuses automatically, heats up in three seconds, and comes with a decent auto-steam function that textures milk to a usable finish. If you drink mostly milk drinks, this machine does the job without the learning curve of a single boiler.
De'Longhi Dedica Arte (around £249, Currys / Amazon UK) is the pick for small kitchens. It is 15 cm wide, which is genuinely useful in London flats and tight counter configurations. The extraction quality is adequate and the pressure is real, though the steam wand is restrictive by design.
One thing I should say plainly about this tier: neither machine comes with a grinder. If you are planning to add a grinder to a Bambino Plus, pause and look at the next tier up - the Sage Barista Express Impress has a built-in grinder and removes a second appliance from your counter. For anyone already budgeting for a separate grinder at this level, the maths often favour going one tier higher.
Tier 2: £400 to £900 - The Capable Middle
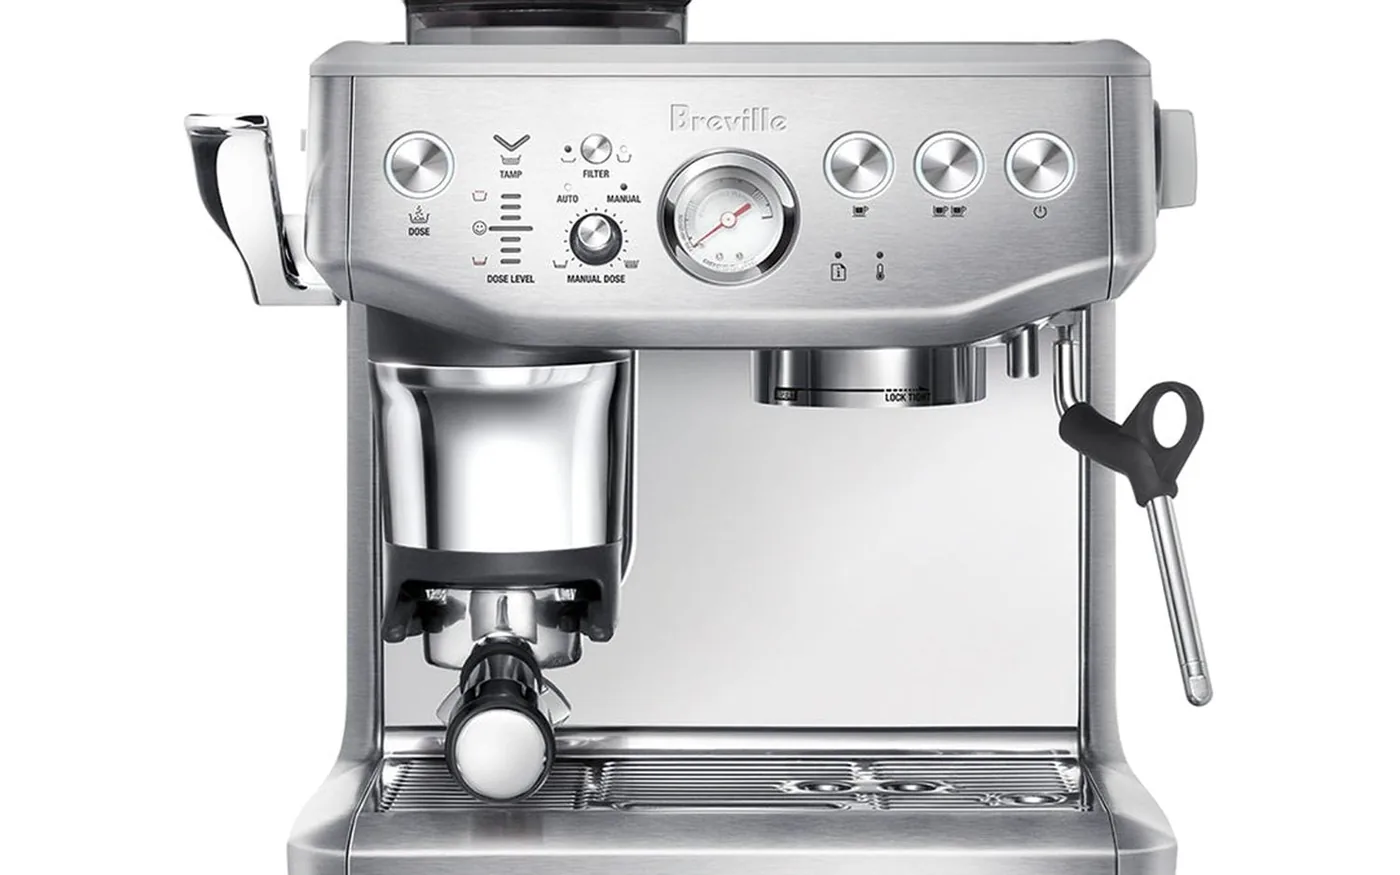
Sage Barista Express Impress (around £700 to £730, Amazon UK / John Lewis) solves the two-machine problem. The built-in conical burr grinder is not in the same league as a standalone Niche or Eureka, but it is consistent enough to dial in good shots without a second appliance on the counter. The Impress tamping system also removes the most common beginner mistake: inconsistent tamp pressure.
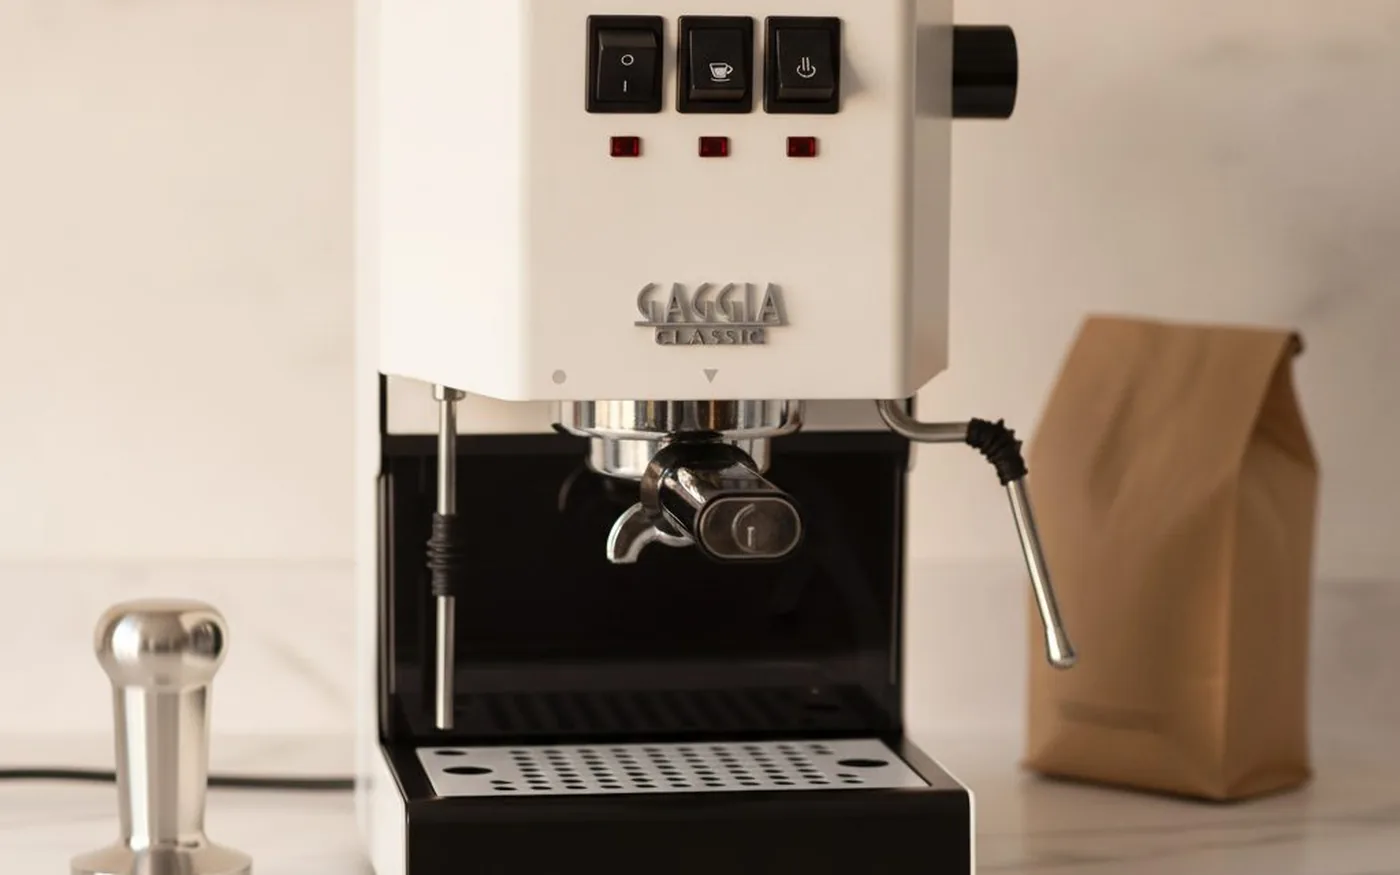
Gaggia Classic Evo Pro (around £499, Amazon UK / Currys) is the machine that specialists love. It is a commercial group head in a domestic body, which means you can upgrade it, tune it, and run it for fifteen years. The steam wand requires more technique than the Bambino's auto-steam - the lower domestic pressure means you need a slower, more deliberate approach to milk texturing - but the payoff is real microfoam once you have the method. This is the machine the home barista community returns to at every price point because the ceiling is genuinely high.
Tier 3: £900 to £2,000 - Where It Gets Serious
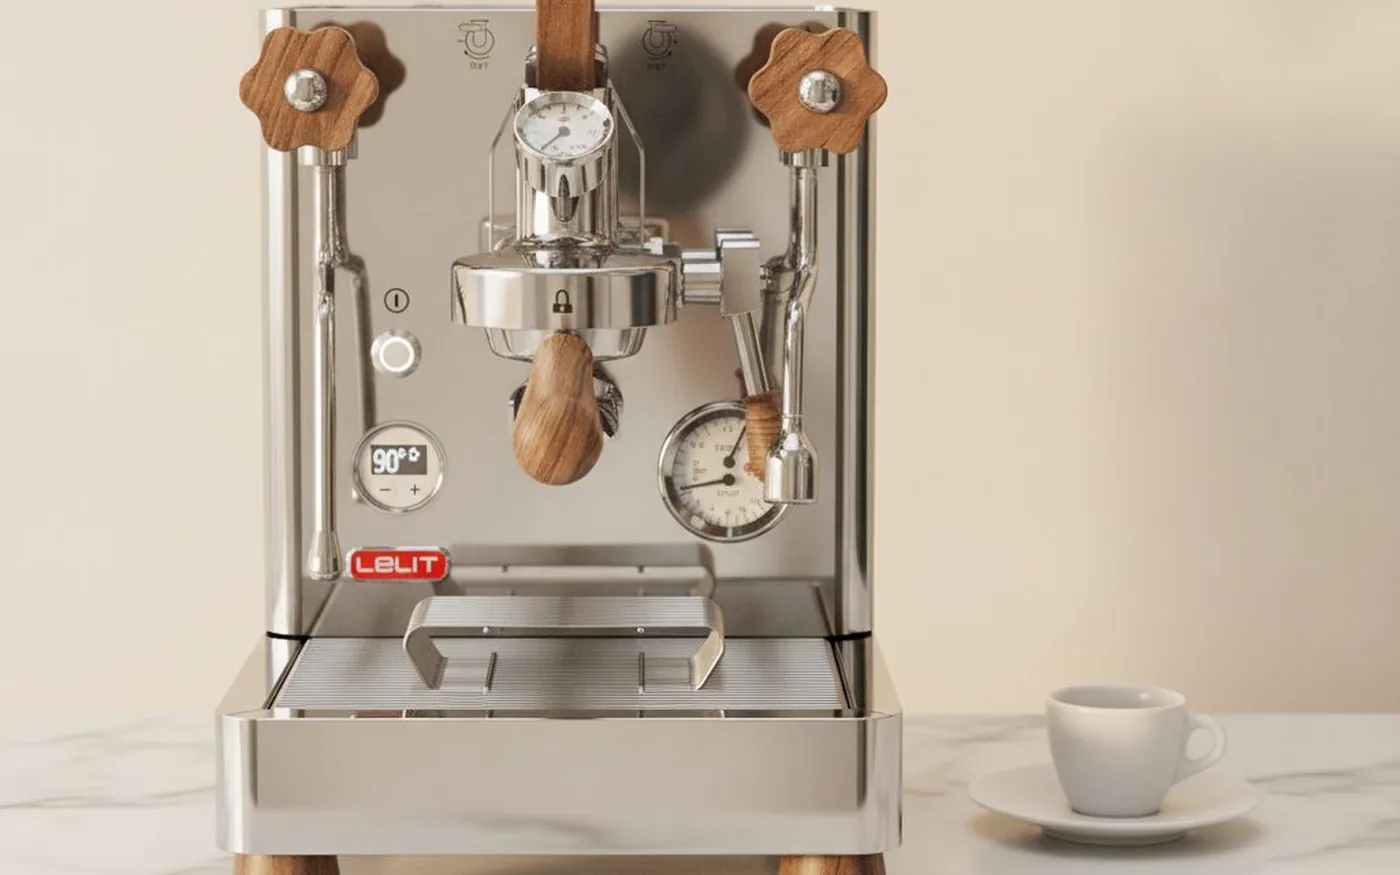
Lelit Anna (around £850, Bella Barista) is a PID-controlled single boiler with a brass group head. The brass retains heat more consistently than aluminium, which you will notice in your extraction temperatures. It is built to last, it is repairable, and it hits a temperature stability level that the tier below cannot match.
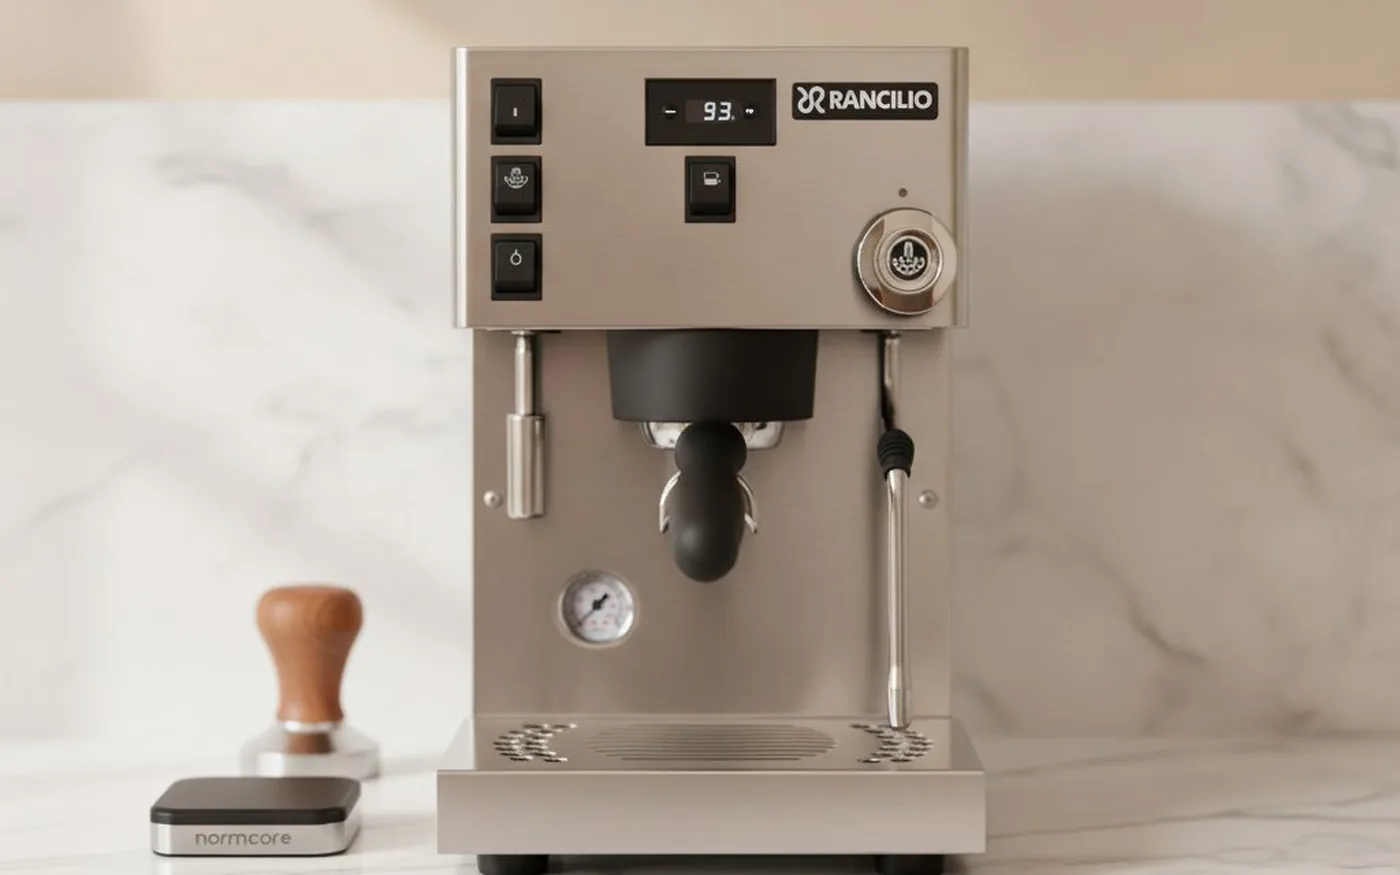
Rancilio Silvia Pro X (around £1,399, Bella Barista) is a dual boiler machine, which means the brew boiler and the steam boiler run independently. In practice, this means you can steam milk and pull a shot simultaneously without the cool-down pause that single boiler machines require. For households making multiple milk drinks per day, this is the real jump.
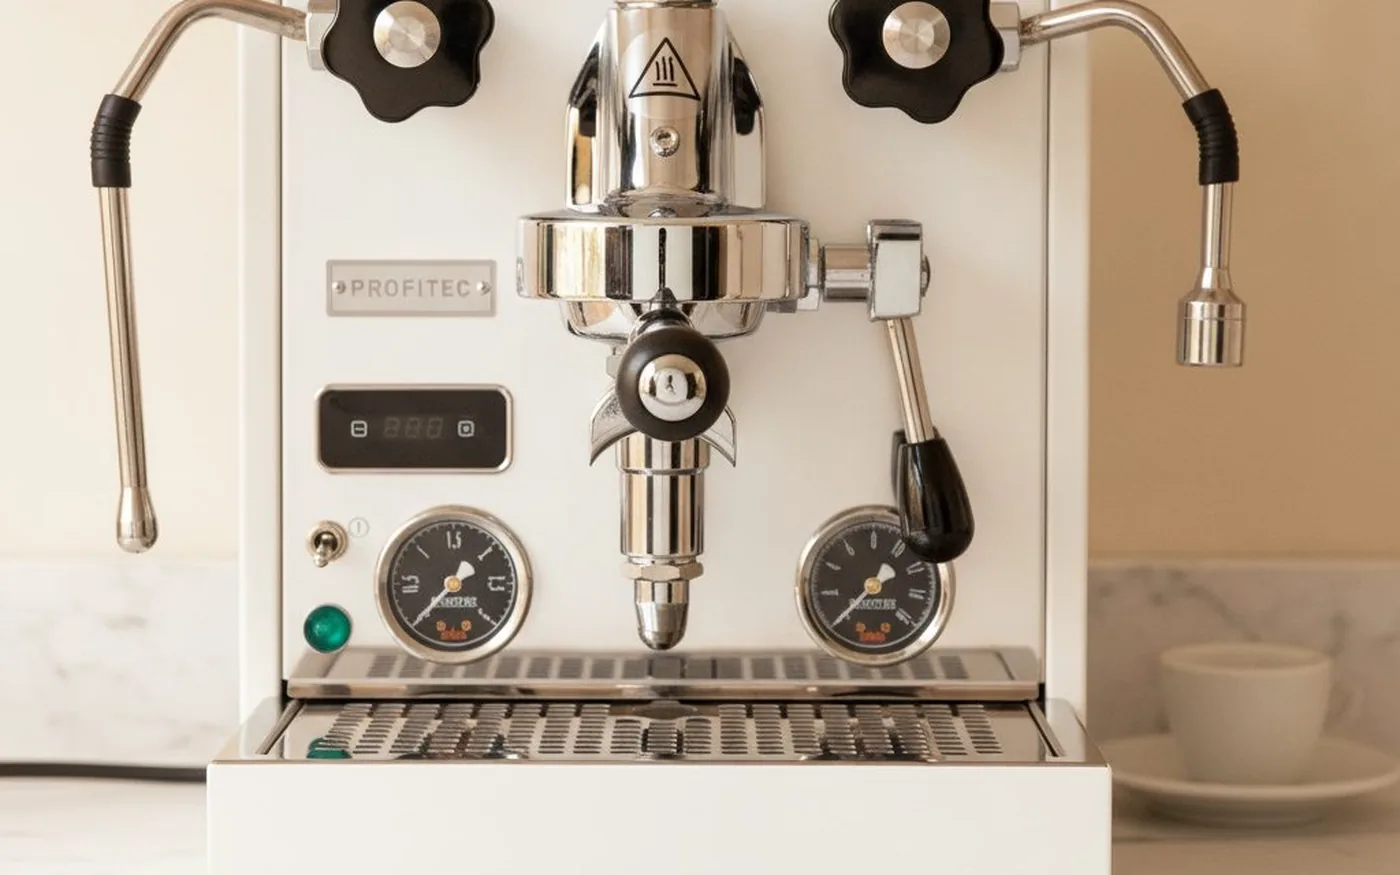
Profitec Go (around £999, Bella Barista) is a single-boiler machine with PID that punches into this tier on build quality and heat stability. German engineering, five-year warranty, simple maintenance. Worth considering if you are not making back-to-back milk drinks.
Tier 4: £2,000 and Above - Endgame
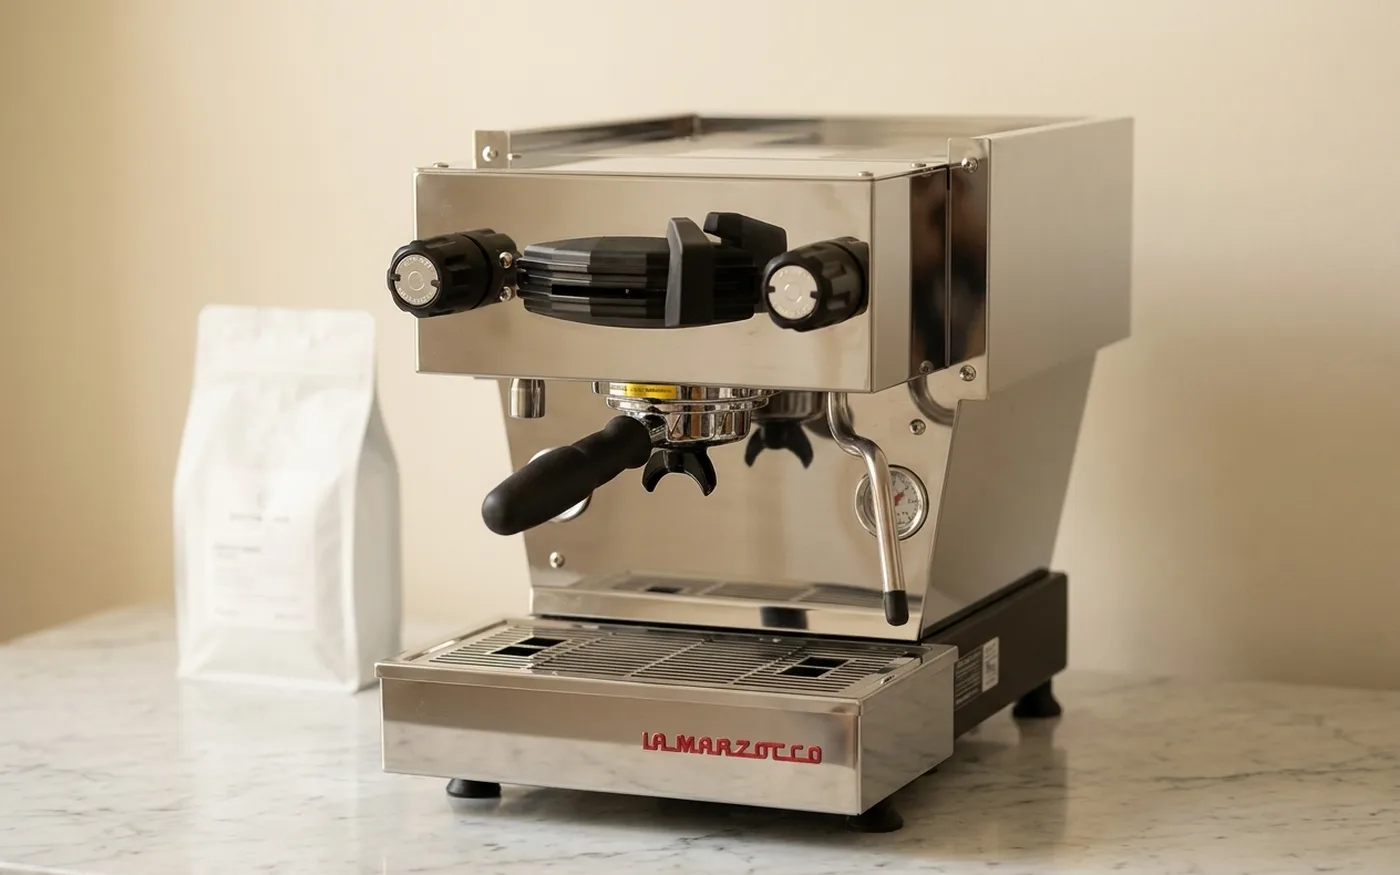
La Marzocco Linea Mini (from £3,800, La Marzocco direct / Bella Barista) is what you buy when you are no longer making espresso as a hobby and it has become part of how your day starts. Dual boiler, saturated group head, commercial group head mechanics in a domestic footprint. I have pulled shots on a La Marzocco in our roastery. The temperature stability is in a different category.
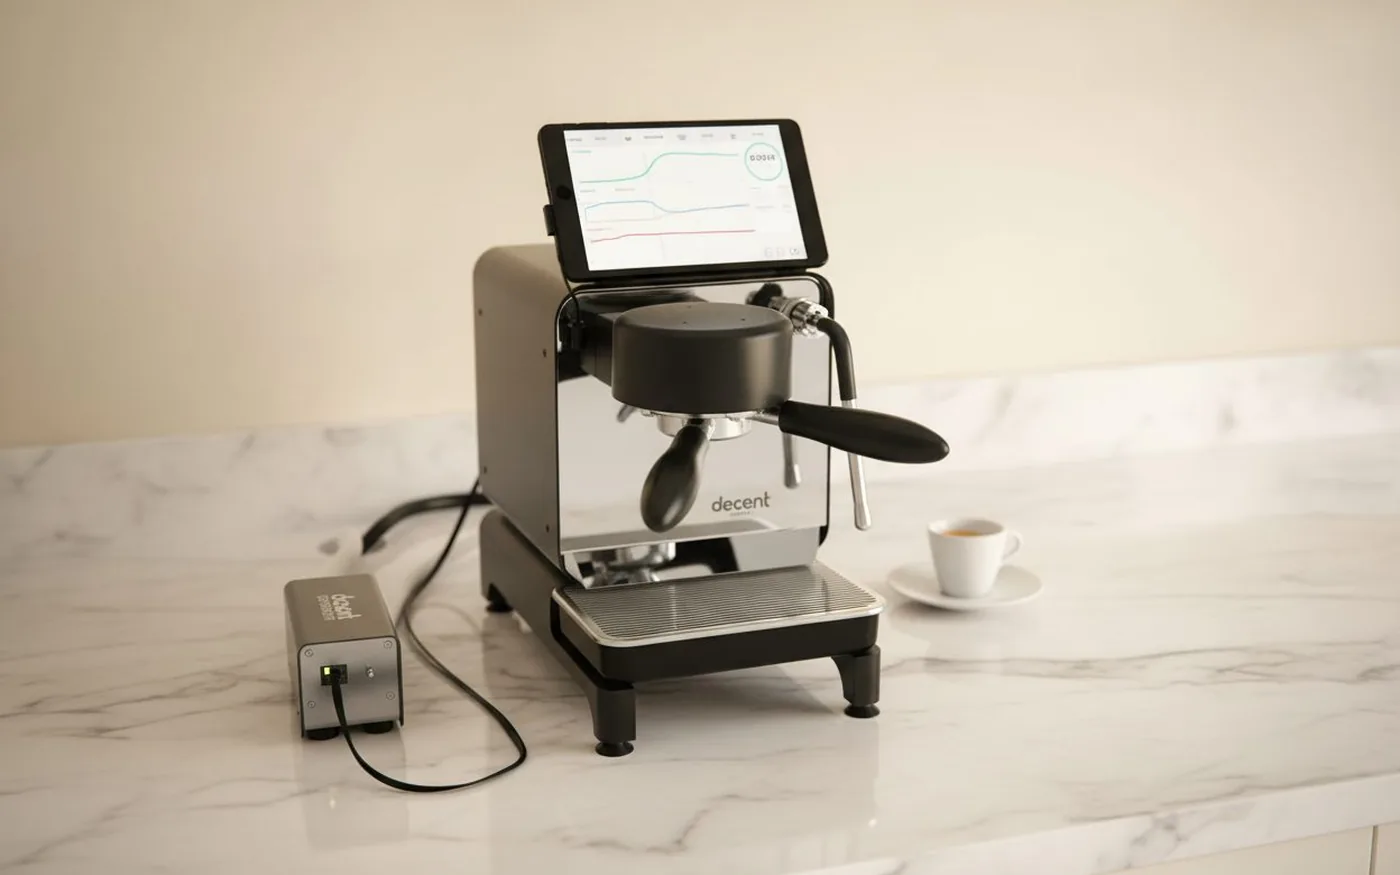
Decent DE1 (from £3,500, Decent Espresso direct) is the machine for people who want pressure profiling control. Every shot variable - pre-infusion, ramp rate, pressure curve, decline - is programmable. It is the choice for the technically-minded home barista who has run out of dials to turn on conventional machines.
What I would not recommend in any tier: machines advertised as espresso makers that use steam pressure rather than a pump. If the description mentions '20 bar' without also mentioning a pump, it is generating pressure via steam, which is not the same as 9 bar through a pump. Sub-£100 capsule machines that call themselves espresso machines are in this category. They produce something that looks like espresso but the extraction physics are different.
The Grinder Matters More Than the Machine
This is the most important thing I can tell you, and the thing most people learn too late: a £400 grinder behind a £400 machine produces better espresso than a £200 grinder behind an £800 machine. Grind consistency is the single biggest variable in espresso extraction. Everything else - temperature, pressure, dose - is easier to control than grind particle uniformity.
The reason is extraction evenness. If your grind has many fine particles (fines) alongside coarser ones, the fines extract quickly and go bitter while the coarser particles under-extract and stay sour. You get both problems in the same shot. A good grinder reduces the distribution of particle sizes (the 'bimodal distribution' problem), which is why expensive grinders produce more consistent, sweeter shots from the same beans on the same machine.
For best espresso grinders ranked by tier, see our dedicated grinder guide. The quick version:
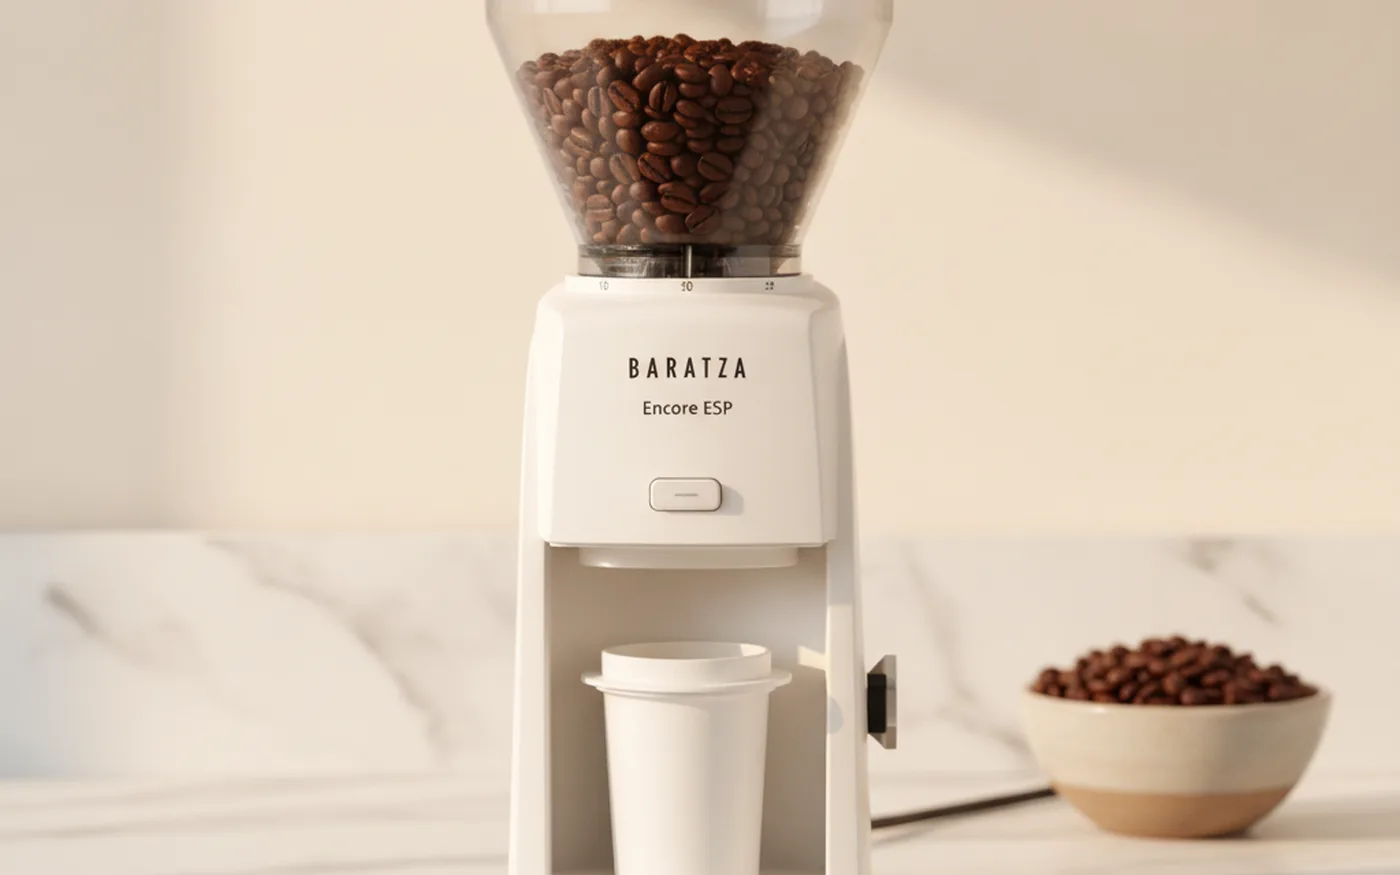
- Entry (under £250): Baratza Encore ESP - designed specifically for espresso, dials in predictably, holds adjustment well. The Encore is the entry-level pick that specialists still recommend. Around £160 to £170 from Cream Supplies or Amazon UK.
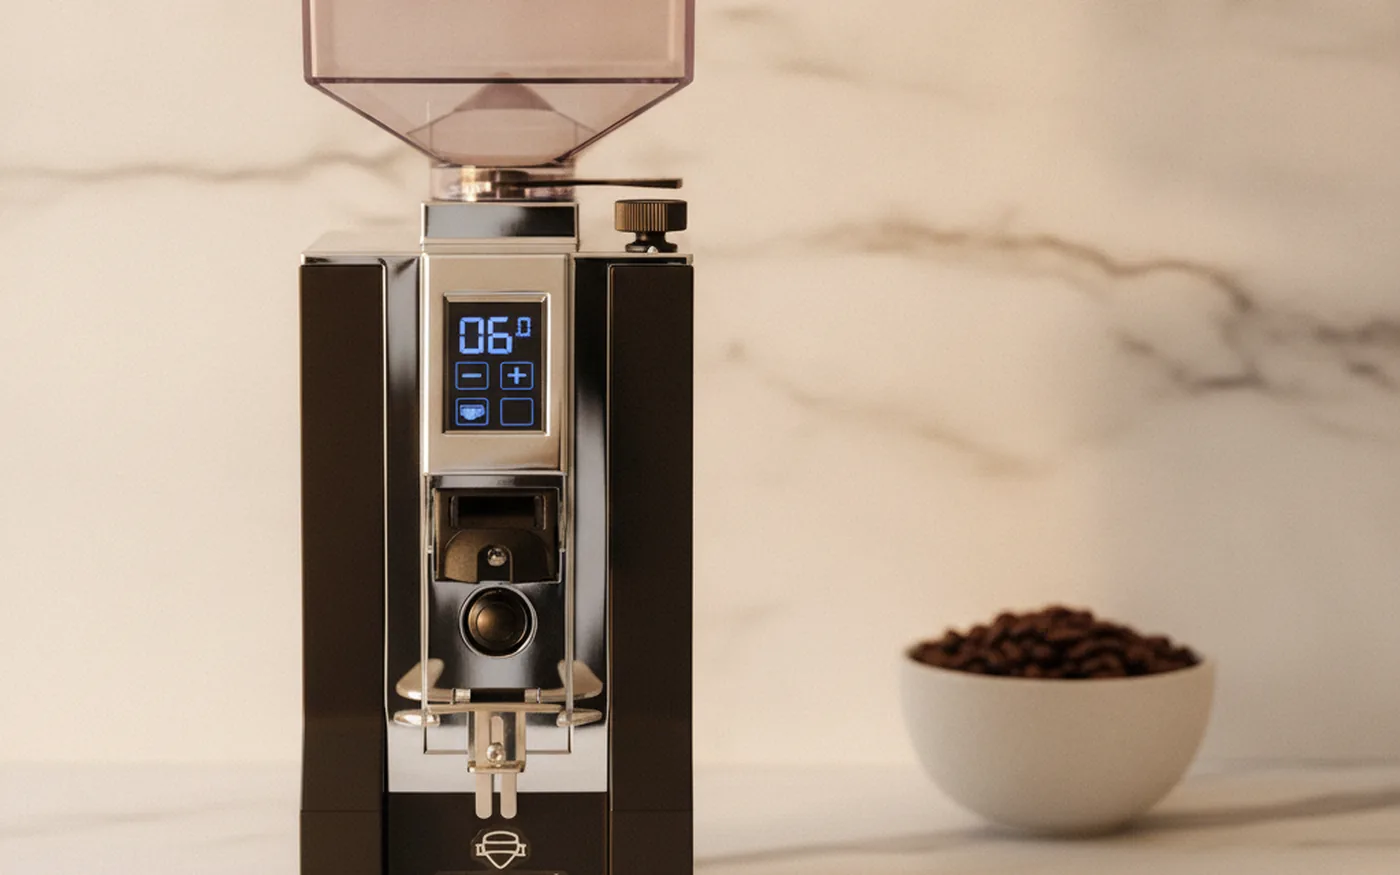
- Mid (£250 to £600): Eureka Mignon Specialita - quiet, fast, flat burrs that produce a narrow particle distribution. The pick for smaller kitchens where noise matters. Around £500 from Bella Barista. DF64 Gen 2 - single-dose flat burr grinder, exceptional value, quiet operation. Around £280 to £350 depending on retailer.
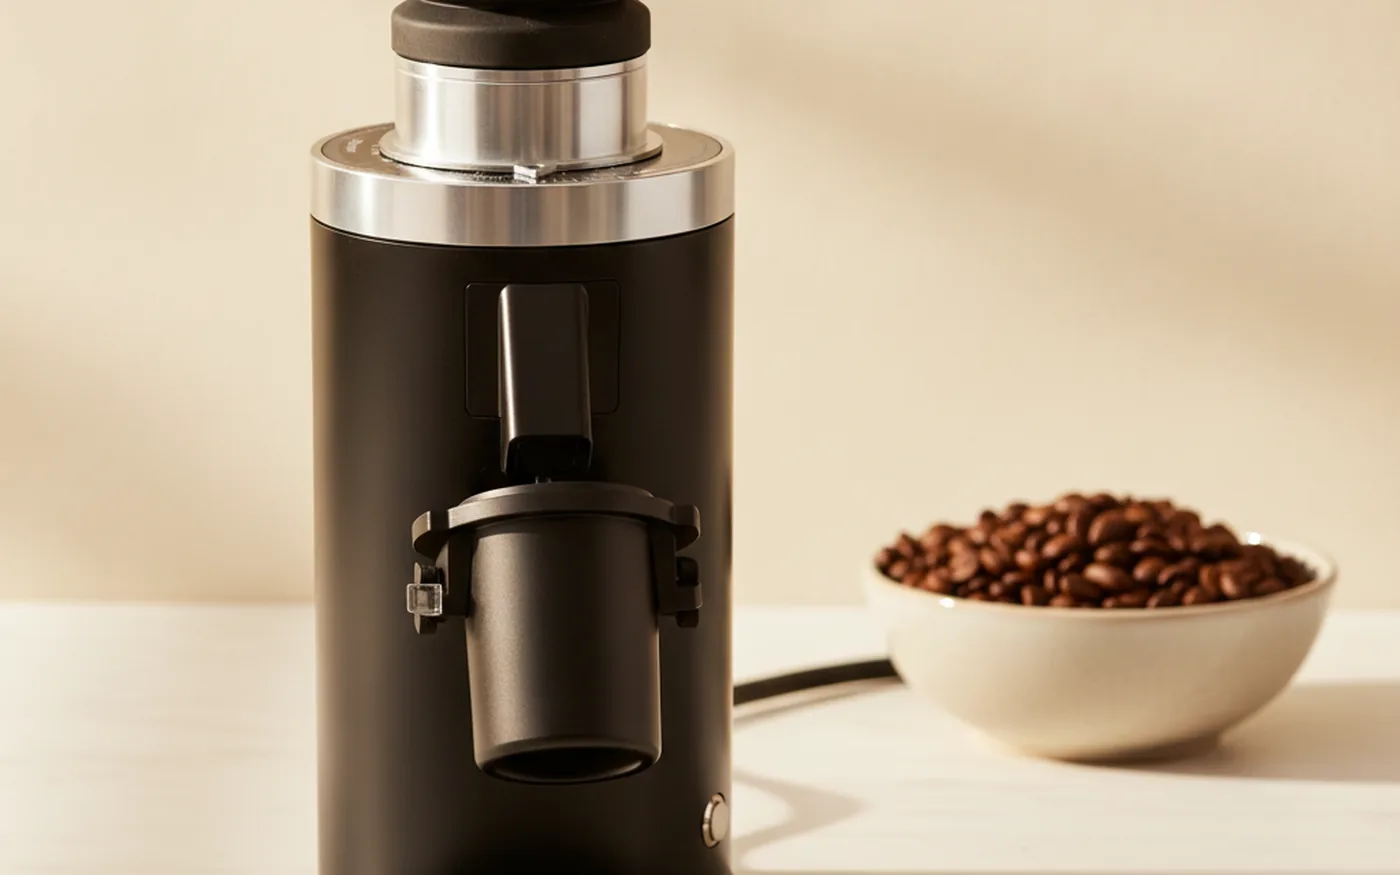
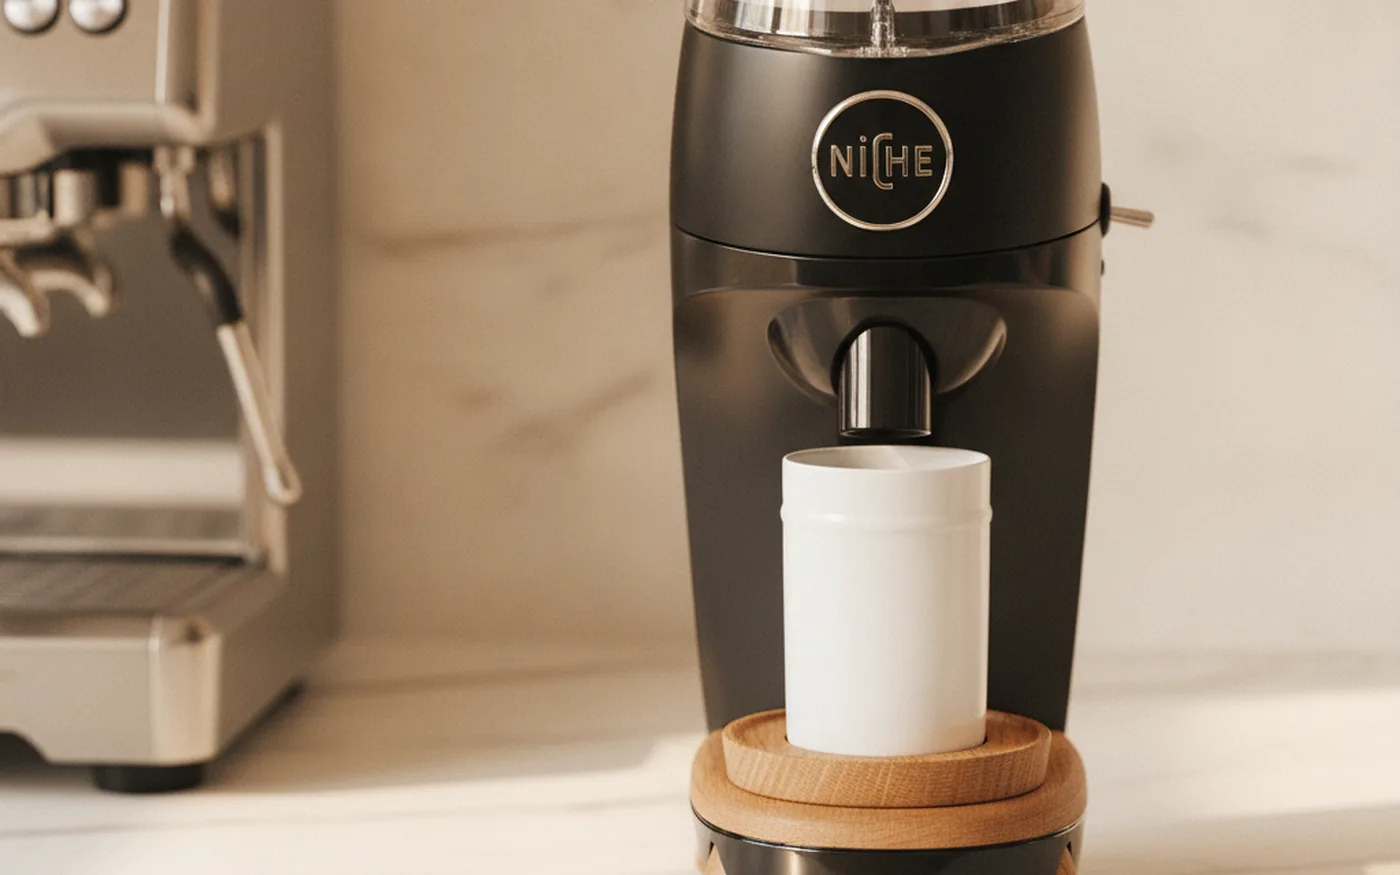
- Premium (£600 and above): Niche Zero - the UK home barista standard. Conical burrs, low retention, predictable grind. You will meet six people at a coffee event who own one. Niche Duo adds filter-side grinding to the same footprint, which matters if you want to run both brewing methods from one grinder.
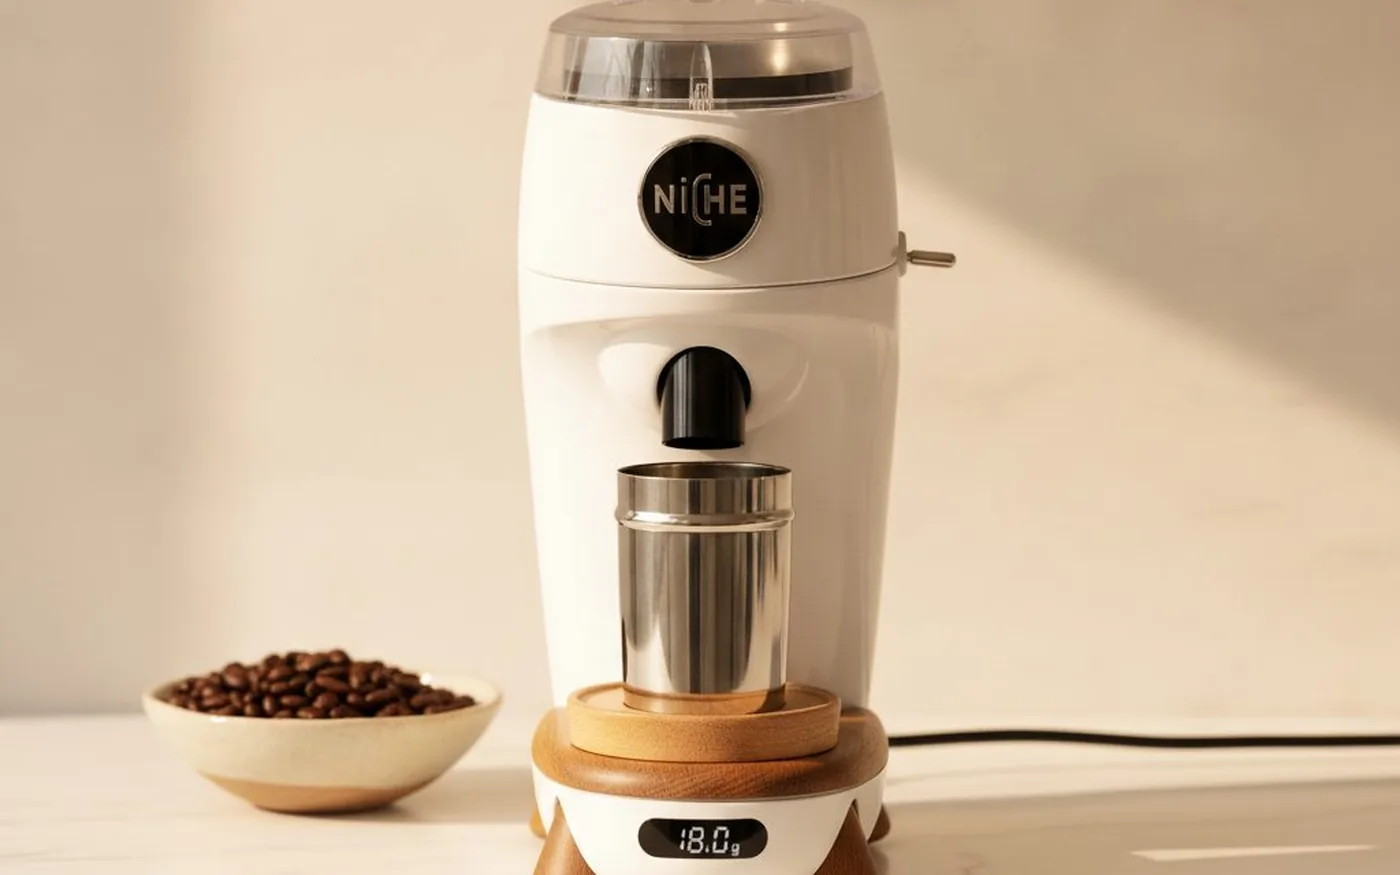
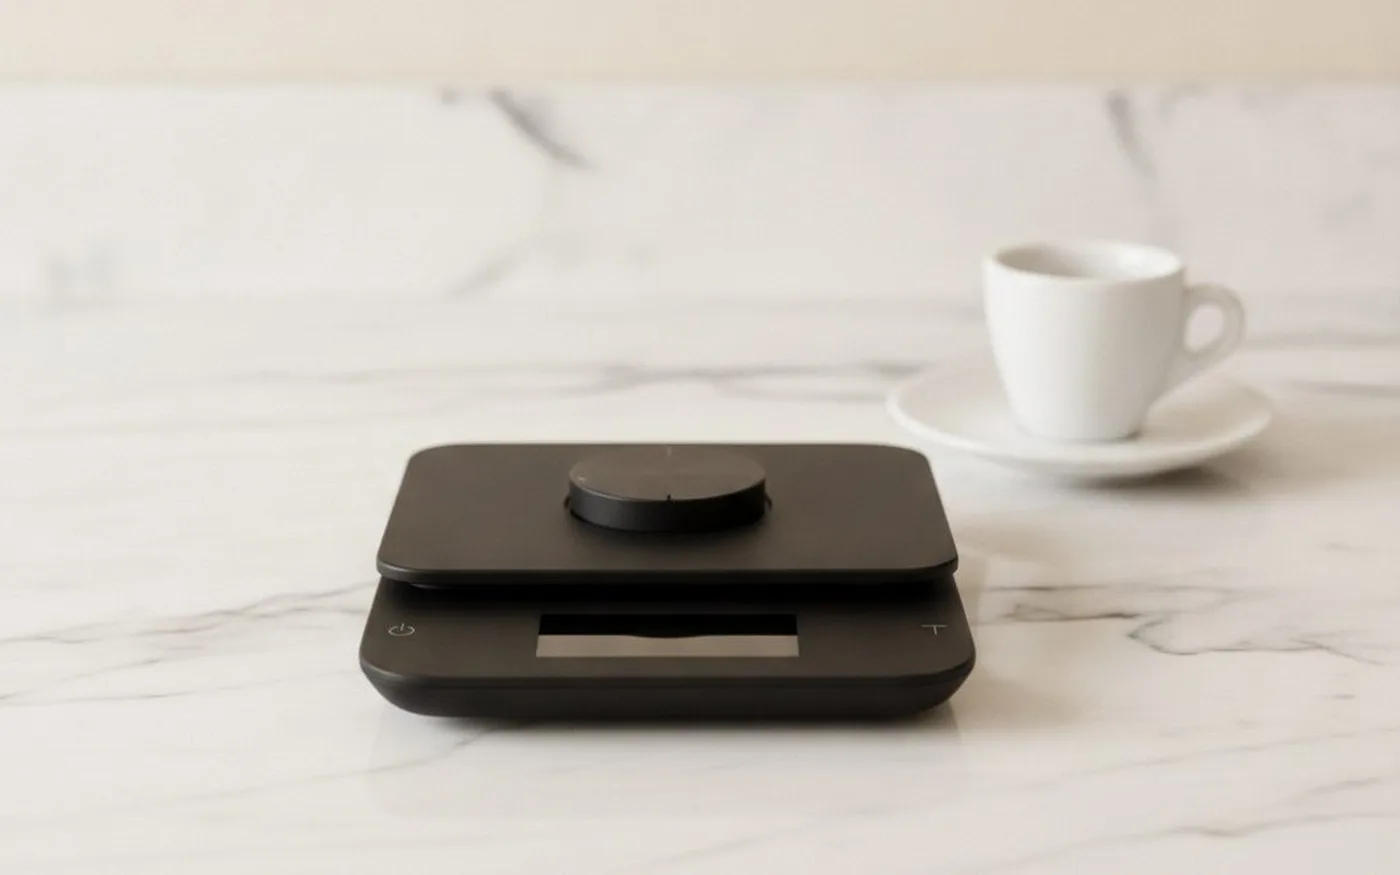
The Acaia Lunar scale (around £200, Bella Barista) is worth mentioning alongside grinders because it integrates with your grinder workflow: it measures yield in real time and stops the shot when your target weight is hit. For anyone pulling shots daily, this removes the biggest source of inconsistency.
The Recipe: Dose, Yield, Ratio, Time, Temperature
The recipe is simpler than the internet makes it look. For a standard modern espresso:
- Dose: 18 g of ground coffee in the basket
- Yield: 36 g of liquid espresso in the cup
- Ratio: 1:2 (dose to yield)
- Time: 27 to 32 seconds from first drop to 36 g
- Temperature: 93 degrees C at the group head
This is the 1:2 ratio, and it is where most specialty cafes and home baristas work. The traditional Italian ristretto ratio (1:1.5) produces 27 g from an 18 g dose - a more concentrated, sweeter, shorter drink. The lungo (1:3 to 1:4) is longer and thinner. For most people learning to make espresso at home, start at 1:2 and adjust from there.
Why ratio matters more than time: Time is a downstream variable. If your grind is coarser, the water flows through faster and your time will be shorter. If you adjust your grind to hit the right time, you are chasing time as the proxy for extraction. Ratio is the direct measure of what you actually want: the concentration of coffee in the cup. Hit 36 g from 18 g, and the ratio is right regardless of whether it took 25 seconds or 33. Time is useful as a diagnostic, not as the target. James Hoffmann's video on espresso dial-in methodology is the clearest explanation of this principle if you want to go deeper.
The SCA's published brewing standards confirm a 1:2 ratio as the reference for espresso, with the 'Golden Cup' water temperature of 90.5 to 96 degrees C at the group head (source: SCA espresso brewing standards).
One specific recipe I run daily: 18 g of Rotate Espresso (100% Mexico, medium-light roast) in, 36 g out, 28 to 30 seconds, 92 to 93 degrees C. Chocolate, a little stone fruit on the mid-palate, clean close. That is an honest starting point if you have fresh beans and a grinder that can dial in to espresso fineness.
Step by Step: Pulling Your First Shot at Home
Follow this sequence exactly on your first twenty shots. Once it is automatic, you will understand why each step is there and can adapt it.
- Purge the group head. Before anything else, flush the group head for two to three seconds. This clears residual water that has been sitting in contact with the boiler and stabilises the temperature at the group head. Do this every time, even on machines with good thermal stability.
- Warm the portafilter. Lock the portafilter into the group head without coffee for thirty seconds before you grind. A cold portafilter drops the brew temperature. This step eliminates one variable.
- Weigh your dose. Tare your scale with the empty portafilter on it. Grind 18 g directly into the basket. If your grinder has a single-dose workflow (DF64, Niche Zero), grind into a cup first and transfer. If it doses directly into the basket (Barista Express), verify the weight after grinding - built-in grinders drift.
- Distribute the grounds. Before you tamp, distribute the coffee evenly. A WDT tool (a needle-based distribution tool) breaks up dry clumps and levels the puck surface. This is the step most beginners skip and the one that eliminates most channelling.
- Tamp level and firm. Place the tamper on the surface and apply even pressure straight down. If you are using the Normcore spring-loaded tamper, press until the spring engages - the spring tells you when you have hit 15 to 20 kg of pressure, which is the consistent target. The surface should be flat and smooth, not rocked or angled.
- Place the puck screen (if using). Drop the BPlus puck screen onto the tamped puck. It sits flat on the surface. This keeps the shower screen cleaner and provides marginal flow consistency benefit.
- Lock the portafilter into the machine. Firm lock. No loose fits.
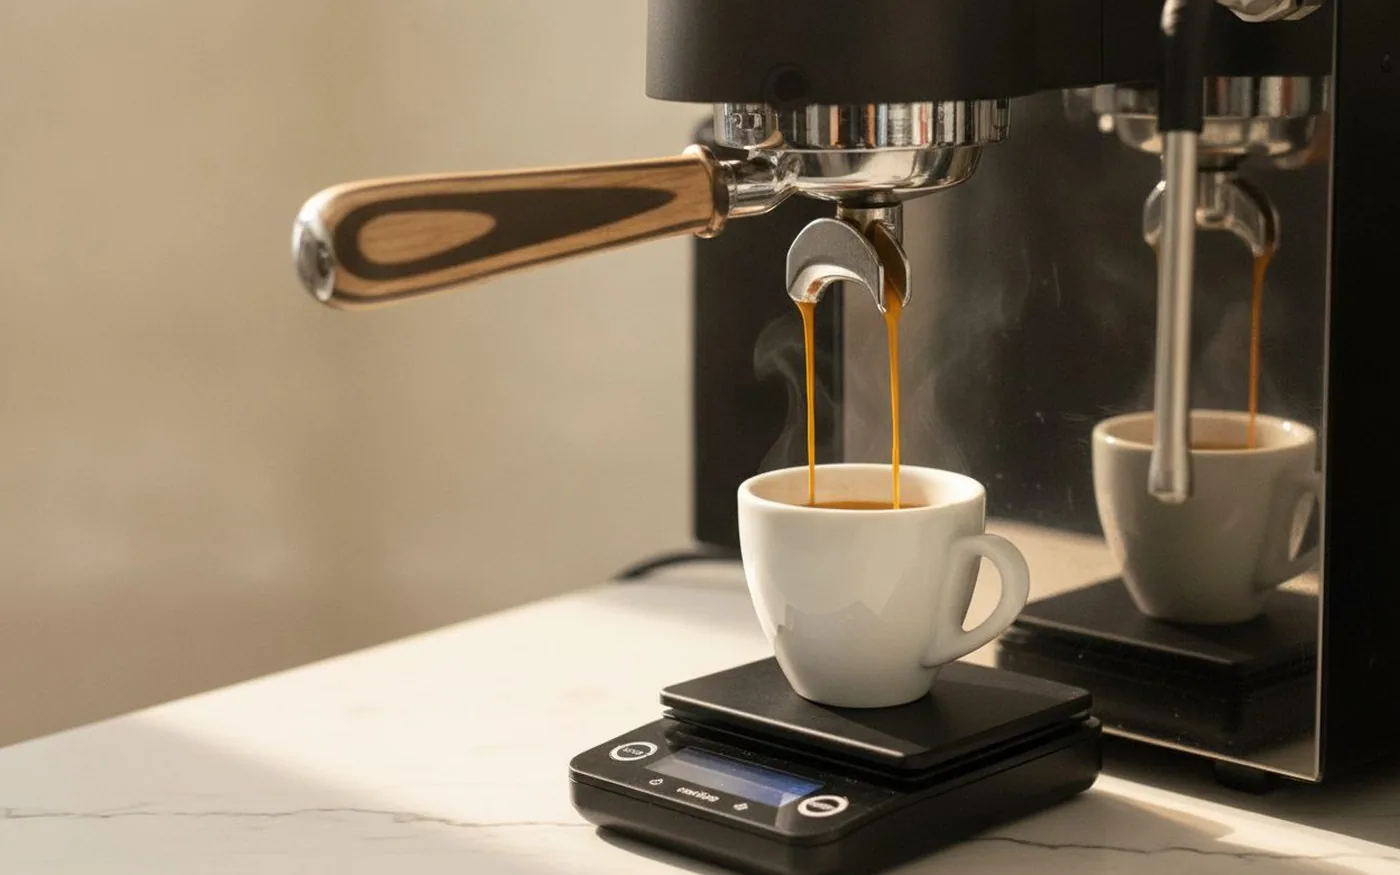
- Place the cup and scale. Tare the cup on the scale. You are measuring yield in grams, not liquid volume.
- Start the shot and start timing. Press the brew button and note the time. The first drops should appear within five to eight seconds (during pre-infusion on machines that have it, the pump is priming). The stream should start thin - the 'mouse tail' is what you are looking for: a narrow, consistent, dark amber thread that gradually widens as the shot progresses.
- Watch the stream, not the clock. The stream should be consistent and even from the spouts (or from the bottom of the basket if you are using a bottomless portafilter). Gushing immediately means too coarse. A drip that will not flow means too fine. A spiralling or uneven stream means channelling in the puck.
- Stop at 36 g. Stop the shot when the scale reads 36 g in the cup. Note the time. If it was between 27 and 32 seconds, your grind is in the right zone for this dose. If it was faster, grind finer. If it was slower, grind coarser.
- Knock out the puck and rinse. Lock the portafilter out, knock the puck into your knock box, and rinse the basket immediately under hot water. The spent coffee starts to dry and stick within a minute. A clean basket every shot is the simplest maintenance habit that extends machine life.
Dialling In: The Troubleshooting Matrix
Every problem you will encounter in the first six months traces to one of six root causes. Identify the symptom, confirm the cause, change one variable only, and pull another shot.
| Symptom | Most Likely Cause | Fix |
|---|---|---|
| Sour, sharp, thin shot | Under-extraction | Grind finer. If already fine, check dose - may be under-dosing. Also check brew temperature (too cool causes under-extraction). |
| Bitter, harsh, dry shot | Over-extraction | Grind coarser. If already adjusted, check yield - may be over-extracting (running past 36 g). Also check temperature (too hot). |
| Gushing immediately (under 15 seconds) | Grind too coarse, or channelling | Grind finer. If channelling: improve distribution and tamping technique before adjusting grind. |
| Shot barely flows or chokes (over 45 seconds) | Grind too fine | Grind one step coarser. Only one step at a time. |
| Channelling (uneven stream, spiralling, blonding quickly in one area) | Uneven distribution in puck | Use WDT tool before tamping. Tamp level. Check basket is clean. Consider a precision basket. |
| Blonding fast (stream goes pale gold before 36 g) | Over-extraction of the first fraction, under-extraction of the remainder | Grind finer and/or reduce yield to 30 to 32 g (ristretto-adjacent) to avoid the blonde. |
The rule: one variable per shot. If you change the grind AND the dose in the same shot, you do not know which change fixed the problem. Adjust the grind first - it is the most powerful variable. Everything else follows.
The deeper dial-in method - ratio adjustments, temperature sweeps, one-variable-at-a-time frameworks - is in our how to dial in espresso guide, which covers this as a dedicated topic for people who are ready to go further.
The Bean: Roast Date Beats Origin Every Time
You can have the best machine and grinder in this guide and still produce a flat, thin, disappointing espresso if your beans are more than three weeks off roast. Freshness is not a premium detail. It is the foundation.
The window for espresso is 7 to 21 days off roast. Within the first week, freshly roasted beans off-gas CO2, which can interfere with extraction. After three weeks, the volatile aromatic compounds that create sweetness, fruit notes, and body have oxidised. What is left tastes flat.
The reason supermarket coffee (Lavazza, Illy, the unbranded bags) often tastes flat is not that those are bad roasters. It is that they roast for shelf stability, not for freshness. A bag with no roast date printed on it has almost certainly been sitting in a warehouse, then on a shelf, then in your cupboard, for longer than the 21-day window. You are extracting stale coffee with a fresh technique and wondering why the result is disappointing.
The practical answer is to buy from roasters who print the roast date on the bag and roast in small batches. In our experience across best coffee beans for espresso testing, the roast date is the single most reliable proxy for cup quality at any price point. Perfect Daily Grind's guide to coffee freshness covers the CO2 off-gassing science behind the 7 to 21 day window in more detail.
Three espresso beans from Balance Coffee, across a range of profiles:
- Rotate Espresso - 100% Mexico, medium-light roast. Chocolate base, light stone fruit, clean close. The everyday espresso that works across all milk drinks and as a straight shot. 7 to 14 days off roast is the sweet spot. Get Rotate Espresso (Balance Journal readers get 20% off).
- Aurora Reserve - 100% Brazil single origin, light roast. Chocolatey base with fruity undertones. Better as a straight shot or with a small amount of milk where the origin character can come through. Needs 10 to 14 days off roast to fully open up. Get Aurora Reserve (20% off).
- Darkfire Energy - Brazil/Colombia blend, darker profile. If you want a heavier, more traditional espresso character - lower acidity, thicker body, less fruit - this is the pick. Forgiving in espresso at a wide range of extraction parameters. Get Darkfire Energy (20% off).
I founded Balance Coffee - full disclosure is appropriate here. The products above are featured because they are relevant to this article, not to drive sales. If you want independent comparisons of espresso beans across roasters, our best coffee beans for espresso guide covers the full market.
Milk Drinks at Home: Steaming Without a Commercial Machine
If you drink flat whites, lattes, or cappuccinos most of the time, you need a machine with a steam wand. Here is an honest account of what to expect from a domestic wand.
Commercial wands run at higher boiler pressure. More pressure means more power, faster milk texturing, and microfoam produced more quickly. There is a reason trained baristas find commercial machines more forgiving once they know the technique: the feedback is immediate and the margin for correction is wide. I have worked on Sanremo Opera machines, La Marzocco, Victoria Arduino Eagle. The difference is real and noticeable.
A domestic wand - the Bambino Plus, the Barista Express Impress, the Gaggia Classic's steam arm - operates at lower pressure. The texturing takes longer and requires more deliberate positioning: the pitcher at a specific angle, the tip depth precise, the wrist movement slower and more controlled. For someone learning to steam milk for the first time, it absolutely gets the job done. The Bambino's auto-steam function removes most of the technique requirement for beginners. The manual wand on the Gaggia requires patience but teaches you the mechanics of texturing properly, which means when you eventually use a better machine, the technique transfers.
The practical steps for a 150 ml flat white at home:
- Use a Motta 350 ml pitcher - small pitcher, controlled pour, less milk wasted.
- Fill to just below the spout - approximately 120 ml of cold milk.
- Purge the wand for one second before putting it into the milk.
- Place the tip just below the surface at a slight angle and open the steam valve fully.
- For the first five seconds, keep the tip near the surface to introduce air ('stretching') - you will hear a tearing sound. Once the milk has expanded by about 20%, sink the tip slightly and allow the swirl to continue texturing without more air.
- Stop when the pitcher is too hot to hold comfortably (around 65 degrees C).
- Purge and wipe the wand immediately.
- Tap the pitcher on the counter and swirl to integrate the texture before pouring.
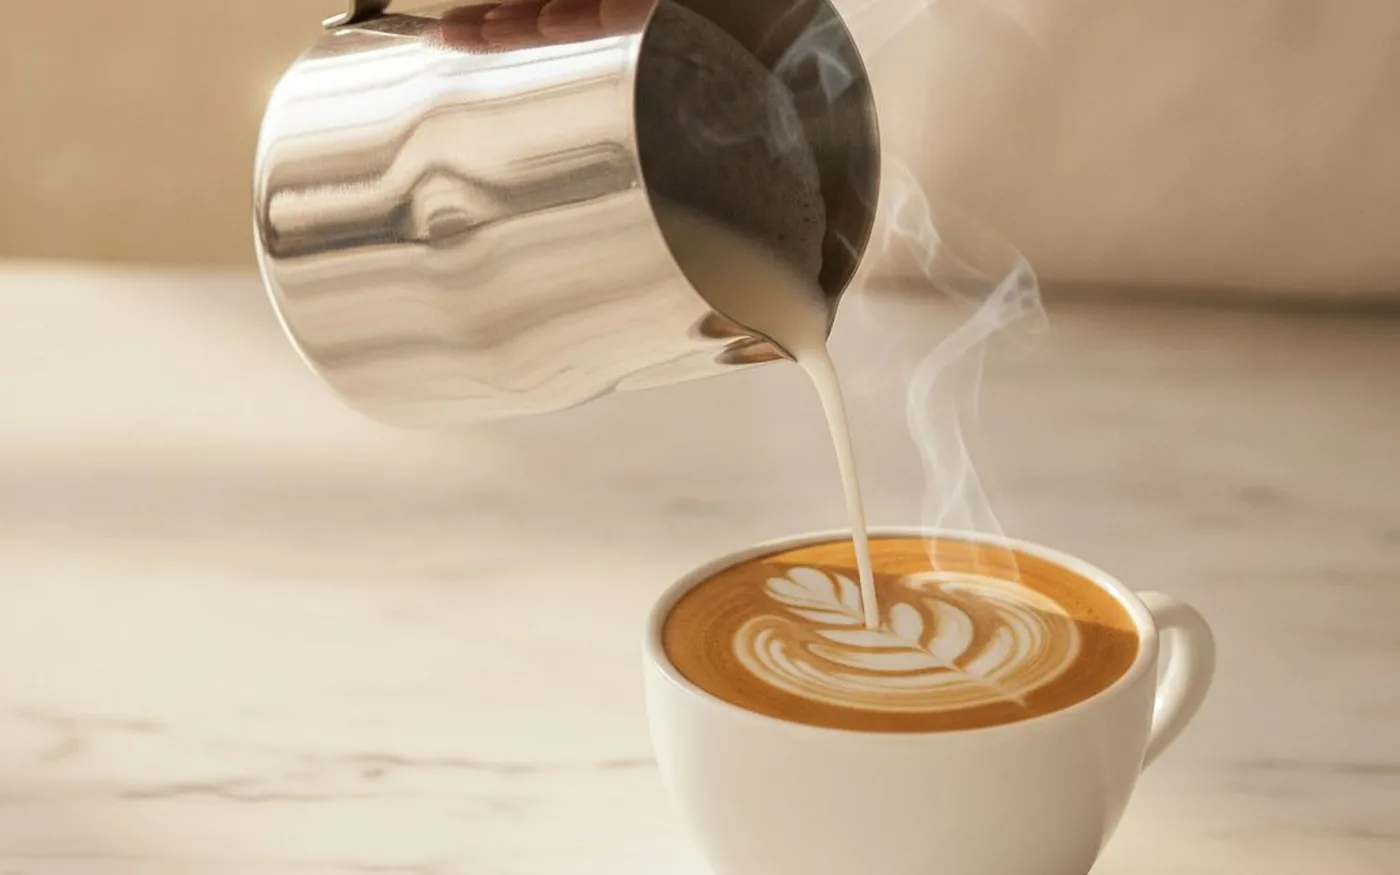
Latte art requires a different pitcher speed and a specific pour angle. That is a separate skill from milk texturing and worth treating as one. The texture is the priority; the pour comes later.
Water and Maintenance: The Two Things That Quietly Kill Machines
Most espresso machine failures I have seen are caused by two things: wrong water hardness and irregular maintenance. Both are easy to prevent and expensive to fix once they become a problem.
Water hardness. Espresso machines work best between 75 and 175 ppm total dissolved solids. Above 175 ppm, scale builds up in the boiler, around the heating element, and in the solenoid valve. Scale is the primary cause of machine failure and is almost entirely preventable. If your tap water is hard (most of London and the south of England is), use a Brita filter jug or a water softener filter on the machine's water line. The BWT Penguin or Peak Water jugs are designed for espresso machines and are worth the purchase.
Backflushing. If your machine has a solenoid (the Bambino Plus, the Barista Express, the Gaggia Classic Evo Pro do), backflush once a week with a blind basket and water, and once a month with a backflush detergent tablet. This keeps the group head clean and the solenoid clear. If your machine does not have a solenoid (most non-pump machines), rinse the group head with a flush after every session.
Descaling cadence. If you are using unfiltered tap water in a hard water area, descale every two to three months. If you are using filtered water, every six months is adequate. Do not skip descaling - the warning light on consumer machines appears after the damage has already started.
Gasket replacement. The portafilter gasket (the rubber seal around the group head) should be replaced once a year on daily-use machines. A worn gasket causes leaks around the portafilter and can introduce inconsistency into the extraction. New gaskets are inexpensive (under £10) and take five minutes to swap.
Mistakes I Made in My First Year (and What to Do Instead)
I made most of the beginner mistakes in the correct order. Here is what they were and what I wish I had known.
Buying pre-ground before getting a grinder. I bought a bag of supermarket ground espresso and used it in a machine that was capable of far better. The result was consistently mediocre and I spent six months blaming the machine. The grinder was the gap the whole time.
Not weighing the dose. I used a scoop. Scoops vary. The dose variance between shots was enough to change the extraction significantly, but because I was not measuring, I had no idea the dose was the variable causing the inconsistency. Once I started weighing, the shots became more predictable within a week.
Chasing time instead of ratio. I read that espresso should take 25 to 30 seconds and adjusted everything to hit that window. Sometimes the ratio was 1:2.5. Sometimes it was 1:1.3. I did not understand that ratio was the target and time was the signal. Once I measured yield instead of just timing, the shot quality improved immediately.
Ignoring roast date. I trusted brand names. I assumed that if Lavazza was a respected Italian roaster, the beans in the vacuum-sealed bag would be good. They were not bad beans. They were old beans. Switching to a specialty roaster with a printed roast date was the single largest improvement to shot quality I made in year one.
Not looking at the stream. I started the shot and looked at my phone. The stream will tell you almost everything about what is happening in the puck: the flow rate, whether channelling is occurring, when the shot is blonding. Once I started watching the stream on every shot, I identified problems earlier and fixed them faster.
Frequently Asked Questions
Can I Make Espresso Without a Machine?
You cannot make true espresso without a pump-driven machine that reaches 9 bar. A Moka pot produces coffee at 1.5 to 2 bar - strong and enjoyable, but not espresso by the SCA definition. For the stovetop alternative, see our best Moka pot guide. If you want real espresso, the entry point is a pump machine from around £200.
What Is the Cheapest Setup That Actually Works?
The honest entry-level setup is a Sage Bambino Plus (around £399) and a Baratza Encore ESP grinder (around £160 to £170), totalling approximately £560 to £570. The Bambino Plus provides real 9-bar pressure, a functional steam wand, and consistent temperature. The Encore ESP grinds fine enough for espresso and holds adjustment predictably. This combination produces genuinely good espresso and will last several years before you need to upgrade either component.
How Long Does It Take to Learn to Pull a Good Shot?
Most people pull a genuinely satisfying espresso within two to four weeks of consistent daily practice. The first week is about the recipe; the second week is about recognising symptoms and tracing them to grind or dose. By week three or four, the adjustments become intuitive. Milk texturing takes longer - four to eight weeks to reach consistently smooth microfoam.
Why Does My Espresso Taste Sour?
Sourness indicates under-extraction. Acids extract first in espresso, before sugars and bitter compounds. If the shot is sour, the water has not extracted enough of what follows. Grind finer first - this is the most likely fix. Also check your dose is at least 18 g and your brew temperature is around 92 to 93 degrees C. A cool machine under-extracts consistently.
Why Does My Espresso Taste Bitter?
Bitterness indicates over-extraction. Bitter compounds extract last, after acids and sugars. If your shot is bitter, extraction has gone too far. Grind coarser first. Check your yield is not running past 36 g, and confirm brew temperature is not above 94 degrees C. Stale beans taste bitter without the sweetness that fresh beans provide - always check the roast date on your bag.
Is a Moka Pot the Same as Espresso?
No. A Moka pot brews at approximately 1.5 to 2 bar of steam pressure. Espresso requires 9 bar from an electric pump. The result is a concentrated, strong coffee that shares some espresso characteristics - intensity, body - but the extraction physics differ. Moka pot coffee lacks the crema and extraction chemistry that define espresso. It is its own brew method, and a good one. Just not espresso.
How Many Bars of Pressure Do I Need?
Nine bars is the SCA standard for espresso extraction. Consumer machines advertise 15 or 20 bar pump pressure, which is the pump's maximum capacity - the actual brew pressure is regulated down to 9 bar by an over-pressure valve inside the machine. If a machine mentions only 'steam pressure' and no pump, it is likely producing far less than 9 bar and will not extract espresso correctly.

A wellness entrepreneur and biohacker, James explores the intersection of hospitality and health - from clean fuel and recovery tools to mindful routines that build balance into daily life.